This the multi-page printable view of this section. Click here to print.
Annotation with points
1 - Points in shape mode
It is used for face, landmarks annotation etc.
Before you start you need to select the Points. If necessary you can set a fixed number of points
in the Number of points field, then drawing will be stopped automatically.
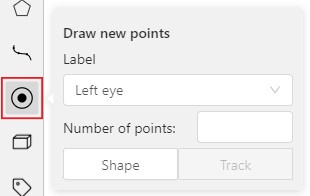
Click Shape to entering the drawing mode. Now you can start annotation of the necessary area.
Points are automatically grouped — all points will be considered linked between each start and finish.
Press N again or click the Done button on the top panel to finish marking the area.
You can delete a point by clicking with pressed Ctrl or right-clicking on a point and selecting Delete point.
Clicking with pressed Shift will open the points shape editor.
There you can add new points into an existing shape. You can zoom in/out (when scrolling the mouse wheel)
and move (when clicking the mouse wheel and moving the mouse) while drawing. You can drag an object after
it has been drawn and change the position of individual points after finishing an object.

2 - Linear interpolation with one point
You can use linear interpolation for points to annotate a moving object:
-
Before you start, select the
Points. -
Linear interpolation works only with one point, so you need to set
Number of pointsto 1. -
After that select the
Track.
-
Click
Trackto enter the drawing mode left-click to create a point and after that shape will be automatically completed.
-
Move forward a few frames and move the point to the desired position, this way you will create a keyframe and intermediate frames will be drawn automatically. You can work with this object as with an interpolated track: you can hide it using the
Outside, move around keyframes, etc.
-
This way you’ll get linear interpolation using the
Points.