Projects
Create project
At CVAT, you can create a project containing tasks of the same type. All tasks related to the project will inherit a list of labels.
To create a project, go to the projects section by clicking on the Projects item in the top menu.
On the projects page, you can see a list of projects, use a search, or create a new project by clicking Create New Project.

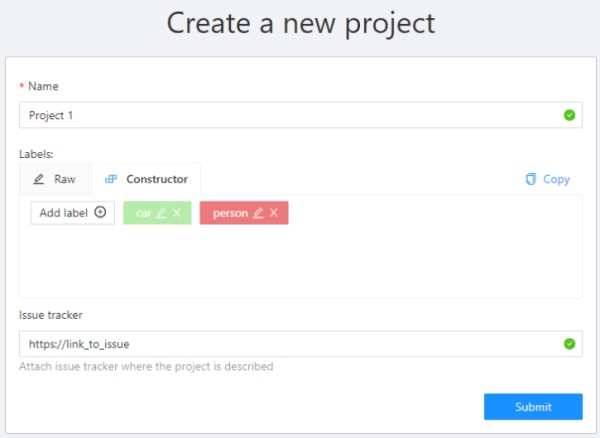
You can change: the name of the project, the list of labels (which will be used for tasks created as parts of this project) and a link to the issue.
Once created, the project will appear on the projects page. To open a project, just click on it.

Here you can do the following:
- Change the project’s title.
- Open the
Actionsmenu. - Change issue tracker or open issue tracker if it is specified.
- Change labels.
You can add new labels or add attributes for the existing labels in the Raw mode or the Constructor mode.
You can also change the color for different labels. By clicking
Copyyou can copy the labels to the clipboard. - Assigned to — is used to assign a project to a person. Start typing an assignee’s name and/or choose the right person out of the dropdown list.
Tasks— is a list of all tasks for a particular project.
It is possible to choose a subset for tasks in the project. You can use the available options
(Train, Test, Validation) or set your own.
You can remove the project and all related tasks through the Action menu.
Export project
It is possible to download an entire project instead of exporting individual tasks. In this case,
annotations for all tasks in a project will be available in a single archive.
To export a project, do the following on the Project page:
- Open the
Actionsmenu. - Press the
Export project datasetbutton.
Additional information about exporting tasks can be found in the Downloading annotations section.