Shape mode (basics)
Usage examples:
- Create new annotations for a set of images.
- Add/modify/delete objects for existing annotations.
-
You need to select
Rectangleon the controls sidebar: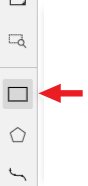
Before you start, select the correct
Label(should be specified by you when creating the task) andDrawing Method(by 2 points or by 4 points):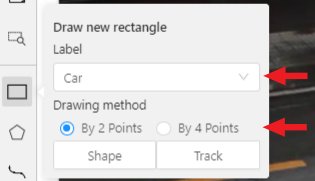
-
Creating a new annotation in
Shape mode:-
Create a separate
Rectangleby clicking onShape.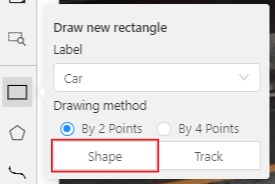
-
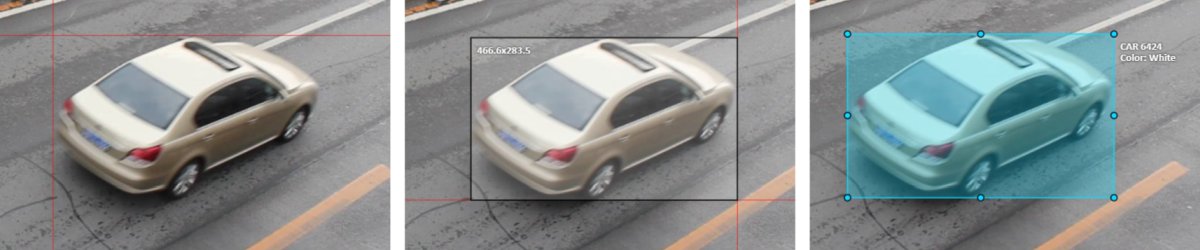
Choose the opposite points. Your first rectangle is ready!
-
To learn about creating a rectangle using the by 4 point drawing method, (read here).
-
It is possible to adjust boundaries and location of the rectangle using a mouse. Rectangle’s size is shown in the top right corner , you can check it by clicking on any point of the shape. You can also undo your actions using
Ctrl+Zand redo them withShift+Ctrl+ZorCtrl+Y.
-
-
You can see the
Object cardin the objects sidebar or open it by right-clicking on the object. You can change the attributes in the details section. You can perform basic operations or delete an object by clicking on the action menu button.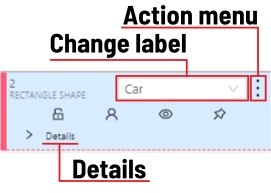
-
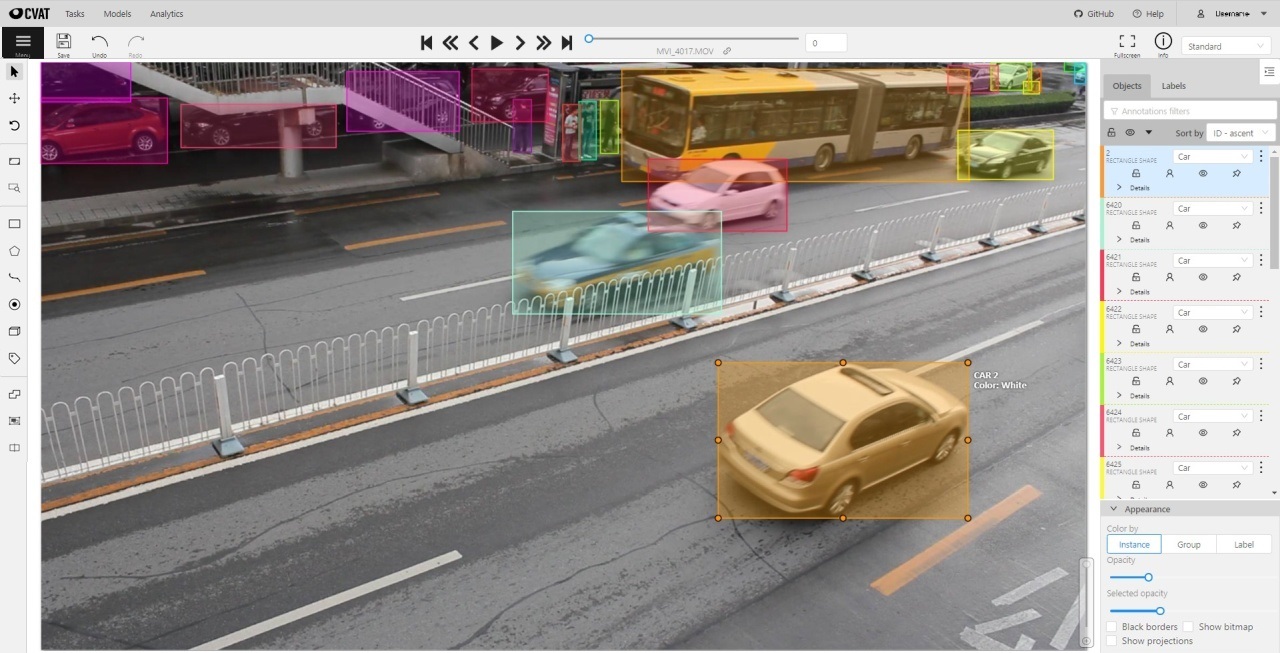
The following figure is an example of a fully annotated frame with separate shapes.
Read more in the section shape mode (advanced).