3D Object annotation (basics)
Navigation
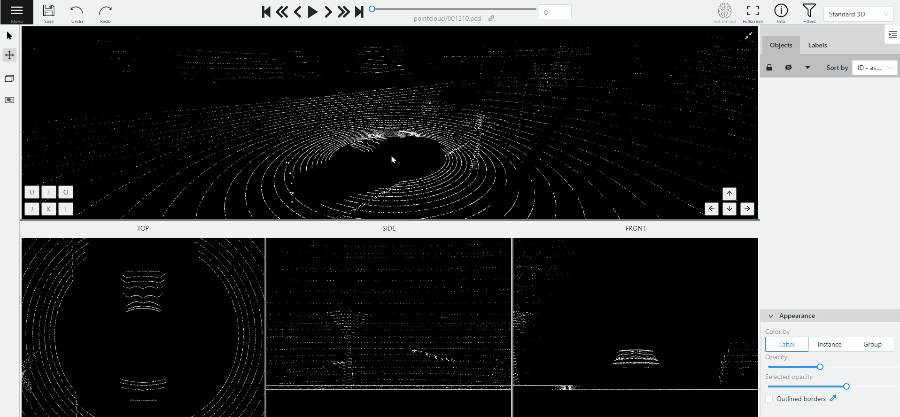
To move in 3D space you can use several methods:
-
Select the
move the imagetool so you can move the camera using the mouse:
- Hold down the left mouse button in the perspective window to turn the camera around the conditional point.
- Hold down the right mouse button in the perspective window to move the camera inside the 3D space.
- Move the mouse while holding down the wheel to zoom in/out in the perspective window.
- Scroll the wheel to zoom in/out (works both in perspective and in projections).
-
Move using the keys in the perspective window

You can move around by pressing the corresponding buttons:
- To rotate the camera use:
Shift+arrrowup/Shift+arrrowdown/Shift+arrrowleft/Shift+arrrowright. - To move left/right use:
Allt+J/Alt+L. - To move up/down use:
Alt-U/Alt+O. - To zoom in/out use:
Alt+K/Alt+I.
Creating a cuboid
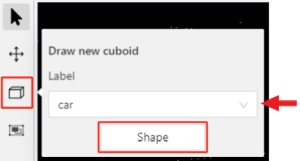
To create a cube in a 3D task you need to click the appropriate icon on the control sidebar,
select the label of the future object and click shape.
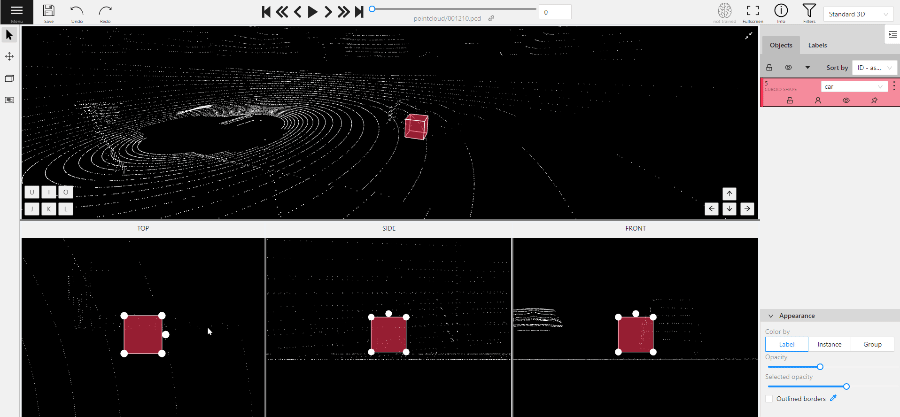
After that the cursor will be followed by a cube. In the creation process you can rotate and move the camera only using the keys. Left double-click will create an object. You can place an object only near the dots of the point cloud.
To adjust the size precisely, you need to edit the cuboid on the projections, for this change Сursor on control
sidebar or press Esc. In each projection you can:
Move the object in the projection plane - to do this, hover over the object, press the left mouse button and move the object.
Move one of the four points - you can change the size of the cuboid by dragging the points in the projection.
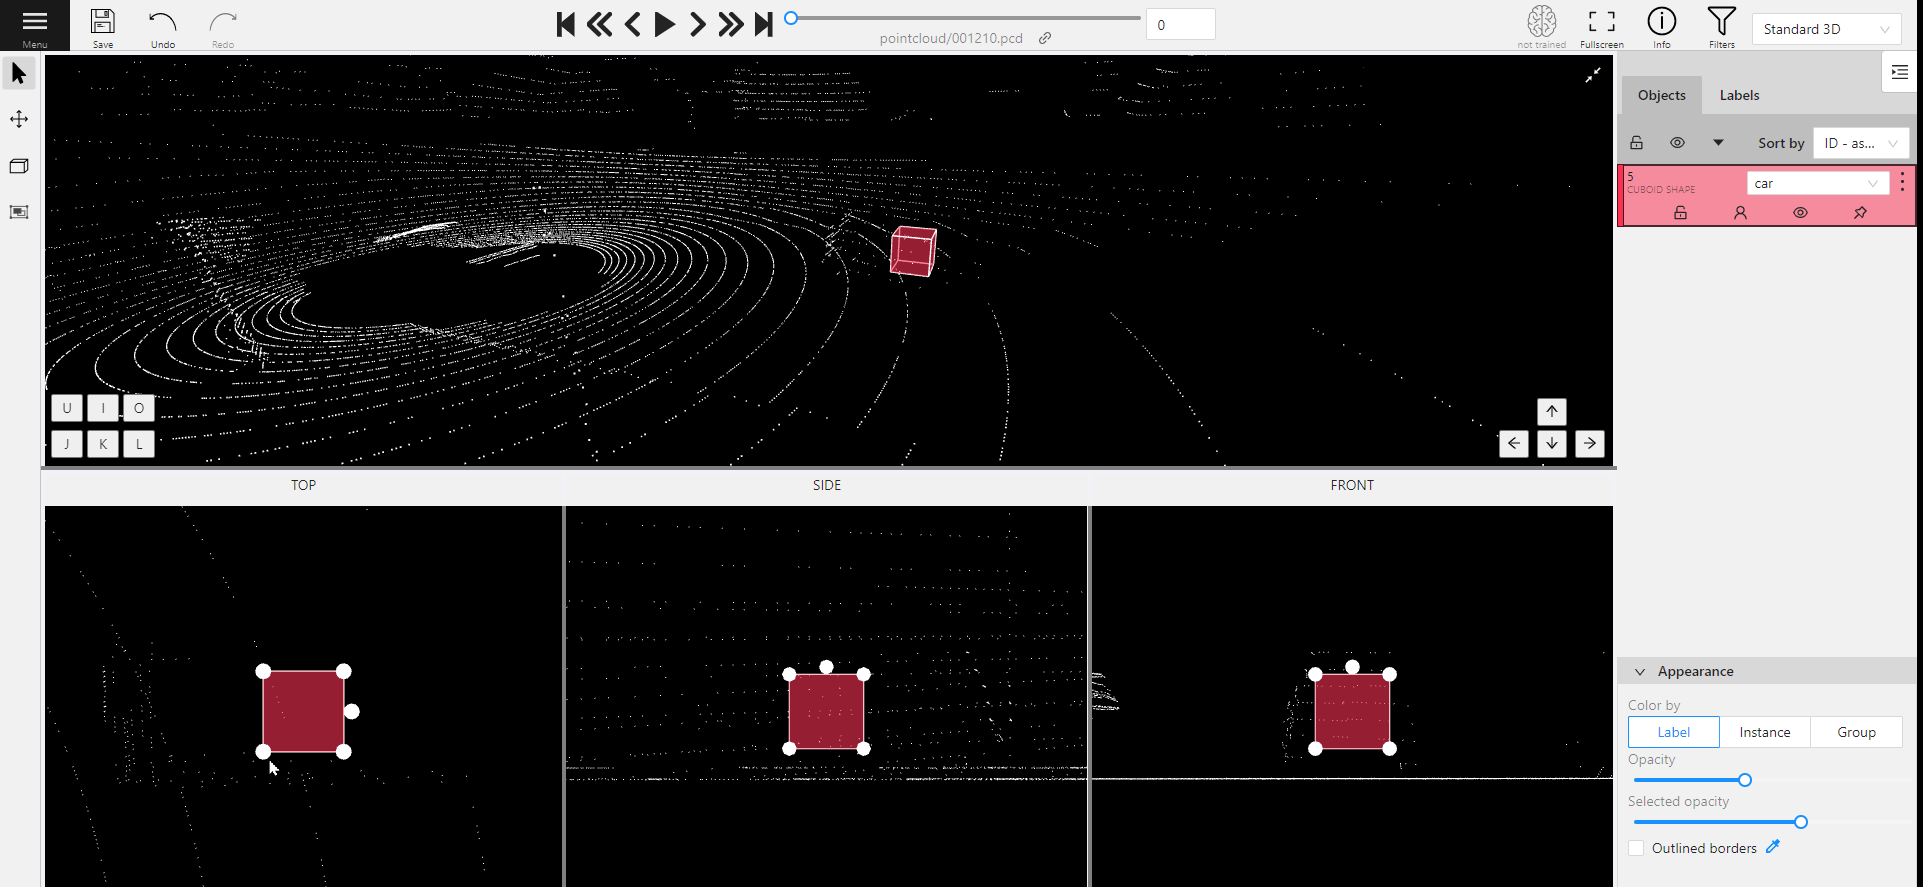
Rotate the cuboid in the projection plane – to rotate the cuboid you should click on the appropriate point and then drag it up/down or to the left/right.
