Objects sidebar
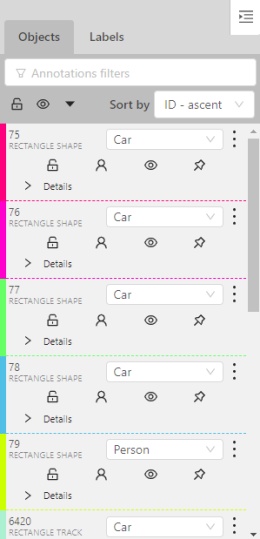
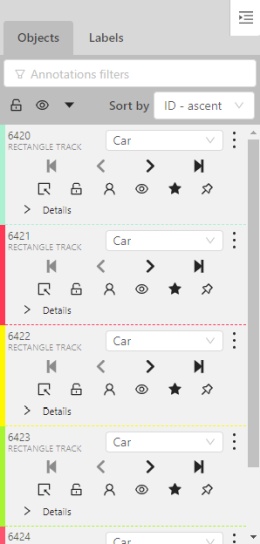
In the objects sidebar, you can see the list of available objects on the current frame. The following figure is an example of how the list might look like:
| Shape mode | Track mode |
|---|---|
 |
 |
Objects properties
Filter input box
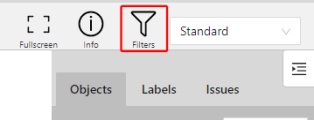
The way how to use filters is described in the advanced guide here.
List of objects

- Switch lock property for all - switches lock property of all objects in the frame.
- Switch hidden property for all - switches hide the property of all objects in the frame.
- Expand/collapse all - collapses/expands the details field of all objects in the frame.
- Sorting - sort the list of objects: updated time, ID - accent, ID - descent
Objects on the sidebar
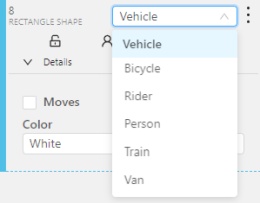
The type of shape can be changed by selecting the Label property. For instance, it can look like shown in the figure below:
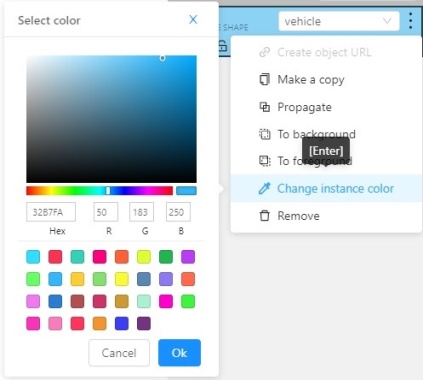
Object action menu
The action menu calls up the button:

The action menu contains:
-
Create object URL - puts a link to an object on the clipboard. After you open the link, this object will be filtered.
-
Make a copy - copies an object. The keyboard shortcut is Ctrl + C > Ctrl + V.
-
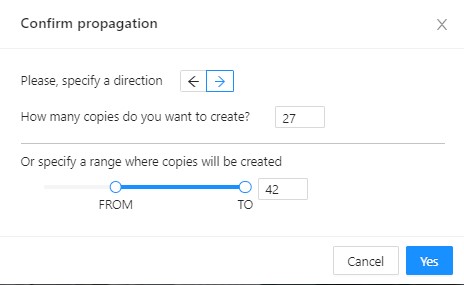
Propagate function copies the form to multiple frames and displays a dialog box where you can specify the number of copies or the frame to which you want to copy the object. The keyboard shortcut is Ctrl + B. On how to propagate only filtered shapes, see Shapes converter
There are two options available:- Propagate forward (
 ) creates a
copy of the object on
) creates a
copy of the object on Nsubsequent frames at the same position. - Propagate backward (
 ) creates
a copy of the object on
) creates
a copy of the object on Nprevious frames at the same position.
- Propagate forward (
-
To background - moves the object to the background. The keyboard shortcut - or _
-
To foreground - moves the object to the foreground. The keyboard shortcut + or =
-
Change instance color- choosing a color using the color picker (available only in instance mode).
-
Remove - removes the object. The keyboard shortcut Del, Shift+Del.
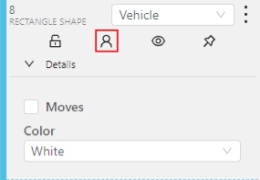
A shape can be locked to prevent its modification or moving by an accident. Shortcut to lock an object: L.
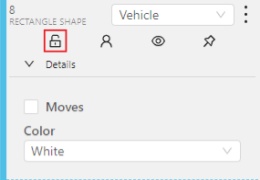
A shape can be Occluded. Shortcut: Q. Such shapes have dashed boundaries.
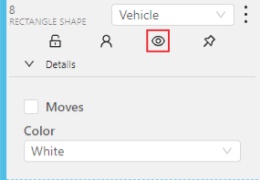
You can change the way an object is displayed on a frame (show or hide).
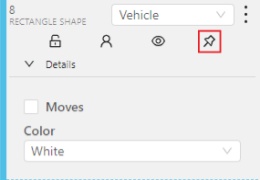
Switch pinned property - when enabled, a shape cannot be moved by dragging or dropping.
Tracker switcher - enable/disable tracking for the object.
![]()
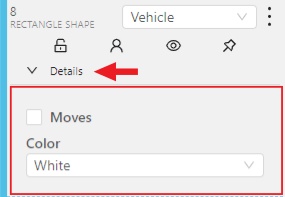
By clicking on the Details button you can collapse or expand the field with all the attributes of the object.
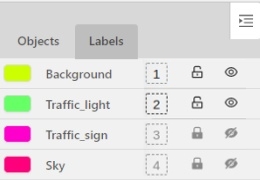
Labels
In this tab, you can lock or hide objects of a certain label. To change the color for a specific label, you need to go to the task page and select the color by clicking the edit button, this way you will change the label color for all jobs in the task.
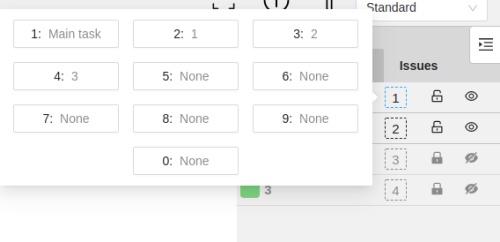
Fast label change
You can change the label of an object using hotkeys. In order to do it, you need to assign a number (from 0 to 9) to labels. By default numbers 1,2…0 are assigned to the first ten labels. To assign a number, click on the button placed at the right of a label name on the sidebar.
After that, you will be able to assign a corresponding label to an object by hovering your mouse cursor over it and pressing Ctrl + Num(0..9).
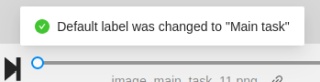
In case you do not point the cursor to the object, pressing Ctrl + Num(0..9) will set a chosen label as default,
so that the next object you create (use the N key) will automatically have this label assigned.
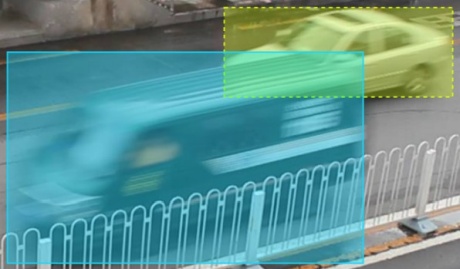
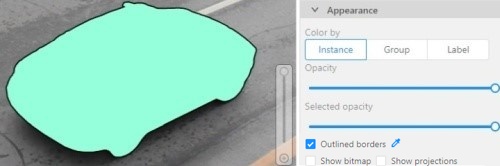
Appearance
Color By options
Change the color scheme of the annotation:
-
Instance— every shape has a random color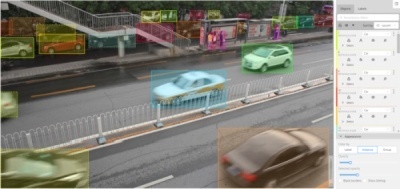
-
Group— every group of shape has its own random color, ungrouped shapes are white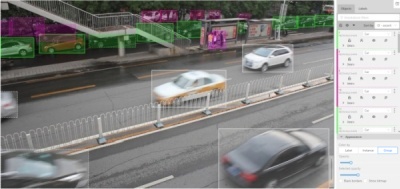
-
Label— every label (e.g. car, person) has its own random color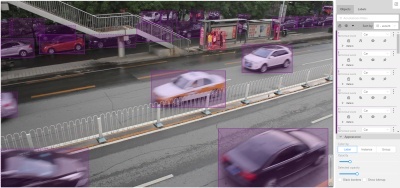
You can change any random color pointing to a needed box on a frame or on an object sidebar.
Fill Opacity slider
Change the opacity of every shape in the annotation.

Selected Fill Opacity slider
Change the opacity of the selected object’s fill. It is possible to change the opacity while drawing an object in the case of rectangles, polygons, and cuboids.

Outlined borders checkbox
You can change a special shape border color by clicking on the Eyedropper icon.
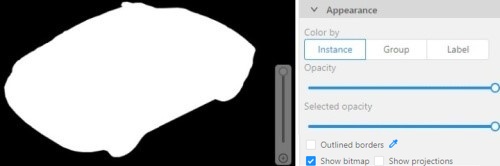
Show bitmap checkbox
If enabled all shapes are displayed in white and the background is black.
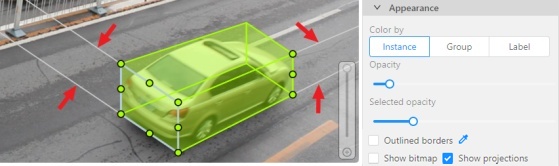
Show projections checkbox
Enables/disables the display of auxiliary perspective lines. Only relevant for cuboids
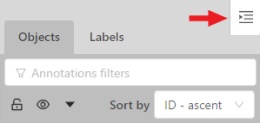
Hide objects sidebar
Hide - the button hides the object’s sidebar.