Create multi tasks
Use Create multi tasks to create multiple video annotation tasks with the same configuration.
To create the multi tasks, on the Tasks page click + and select Create multi tasks.
Note: The Create multi tasks feature is available for videos only.

See:
Create multi tasks
To add several tasks in one go, open the task configurator:
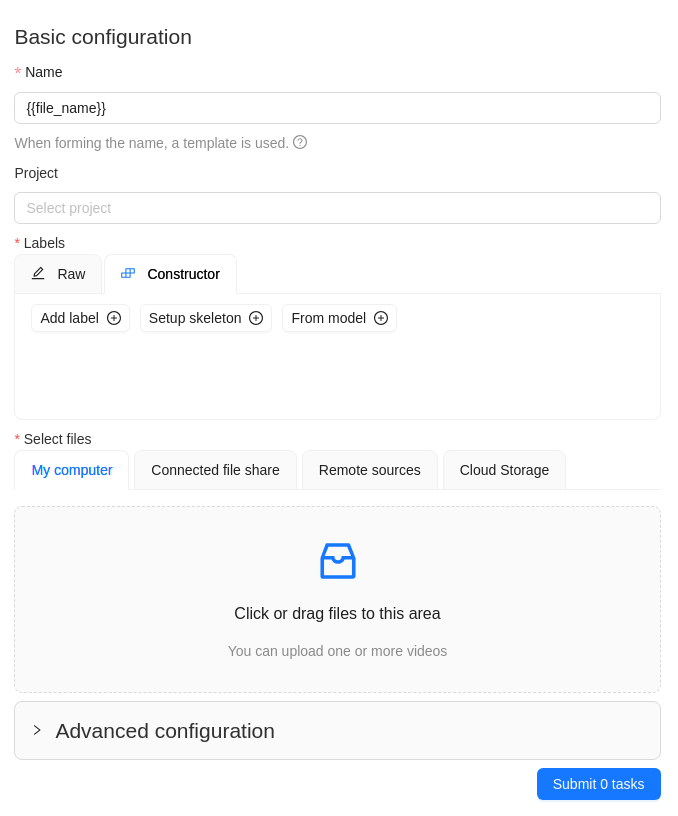
And specify the following parameters:
-
In the Name field, enter the name of the new task:
- Enter the name of the task
- (Optional)
{{index}}adds an index to the file in the set (starting from 0). - (Optional)
{{file_name}}adds the file’s name to the task’s name.
-
(Optional) From the Projects drop-down, select a project for the tasks.
Leave this field empty if you do not want to assign tasks to any project.
Note: Following steps are valid if the tasks do not belong to a project.
If the tasks have been assigned to a project, the project’s labels will be applied to the tasks. -
On the Constructor tab, click Add label.
-
In the Label name field, enter the name of the label.
-
(Optional) Select the color for the label.
-
(Optional) Click Add an attribute and set up its properties.
-
Click Select files to upload files for annotation.
Note: You cannot upload multiple tasks from the cloud storage.
-
Click Submit
Ntasks
Example
A step-by-step example for creating the multiple tasks:
-
In the Name field, enter the
Create_multitask-{{index}}-{{file_name}}. -
Add labels.
-
Select files.
In case there are more than four files, only the total number of selected files will be displayed: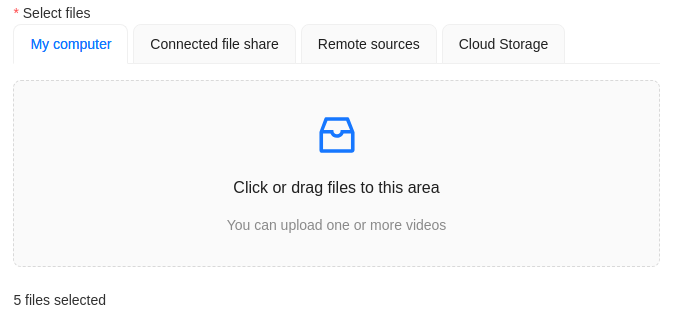
-
Click Submit
Ntasks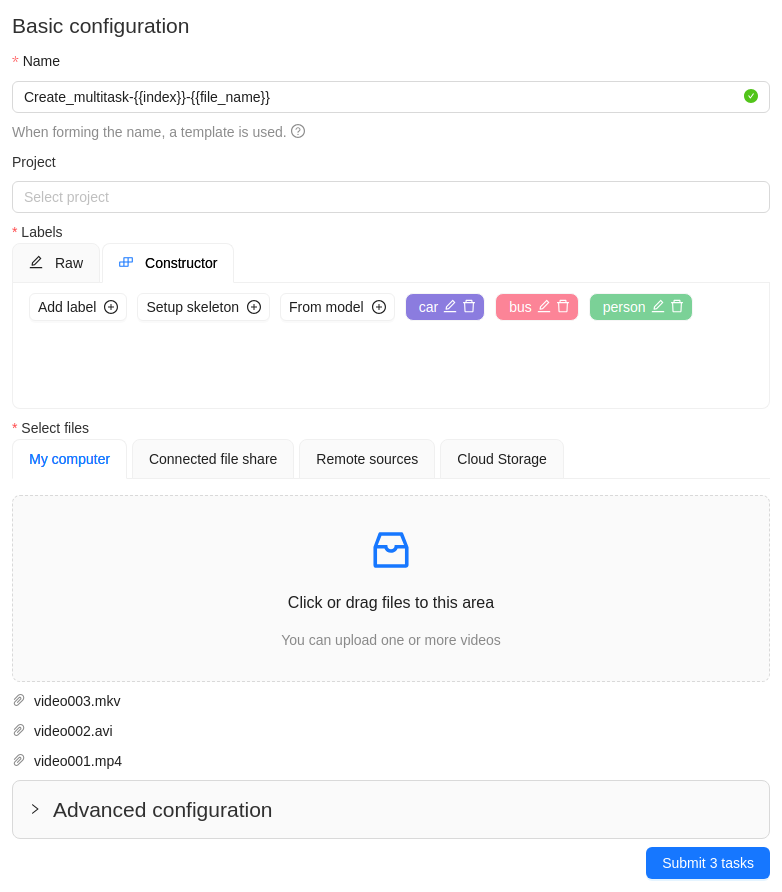
-
You will see a progress bar that shows the progress of the tasks being created:

-
Click Ok.

The result will look like the following:
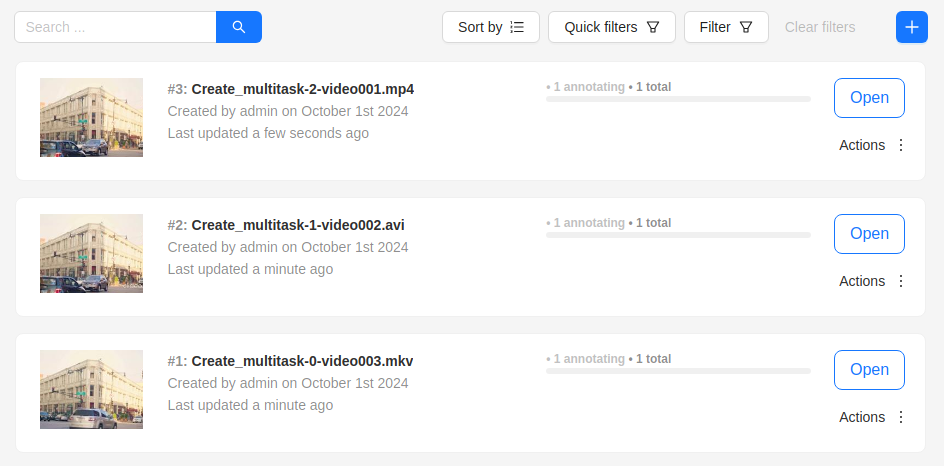
Errors
During the process of adding multiple tasks, the following errors may occur:
| Error | Description |
|---|---|
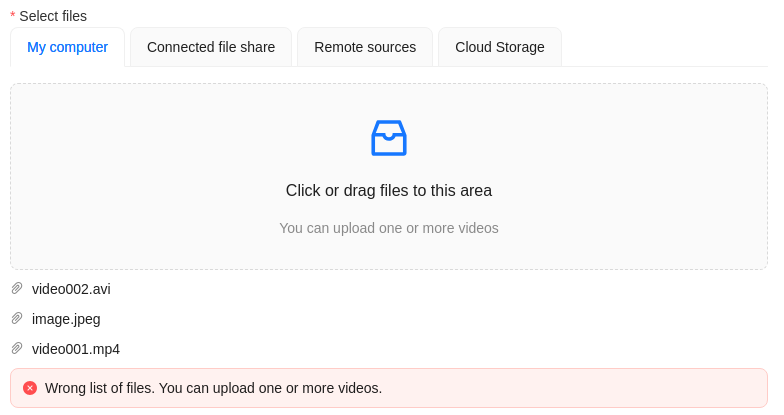 |
Wrong file format. You can add only video files. |
 |
In the process of creating a task, CVAT was not able to process the video file. The name of the failed file will be displayed on the progress bar. To fix this issue: |
Advanced configuration
Use advanced configuration to set additional parameters for the task and customize it to meet specific needs or requirements.
For more information, see Advanced configuration