Organization
Organization is a feature for teams of several users who work together on projects and share tasks.
Create an Organization, invite your team members, and assign roles to make the team work better on shared tasks.
See:
- Personal workspace
- Create new organization
- Organization page
- Invite members into organization: menu and roles
- Delete organization
Personal workspace
The account’s default state is activated when no Organization is selected.
If you do not select an Organization, the system links all new resources directly to your personal account, that inhibits resource sharing with others.
When Personal workspace is selected, it will be marked with a tick in the menu.
Create new organization
To create an organization, do the following:
-
Log in to the CVAT.
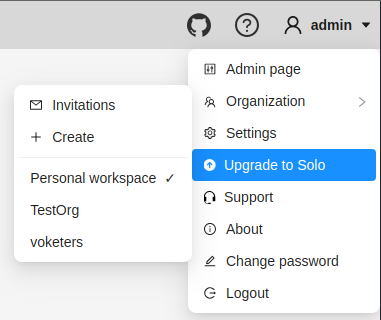
-
On the top menu, click your Username > Organization > + Create.

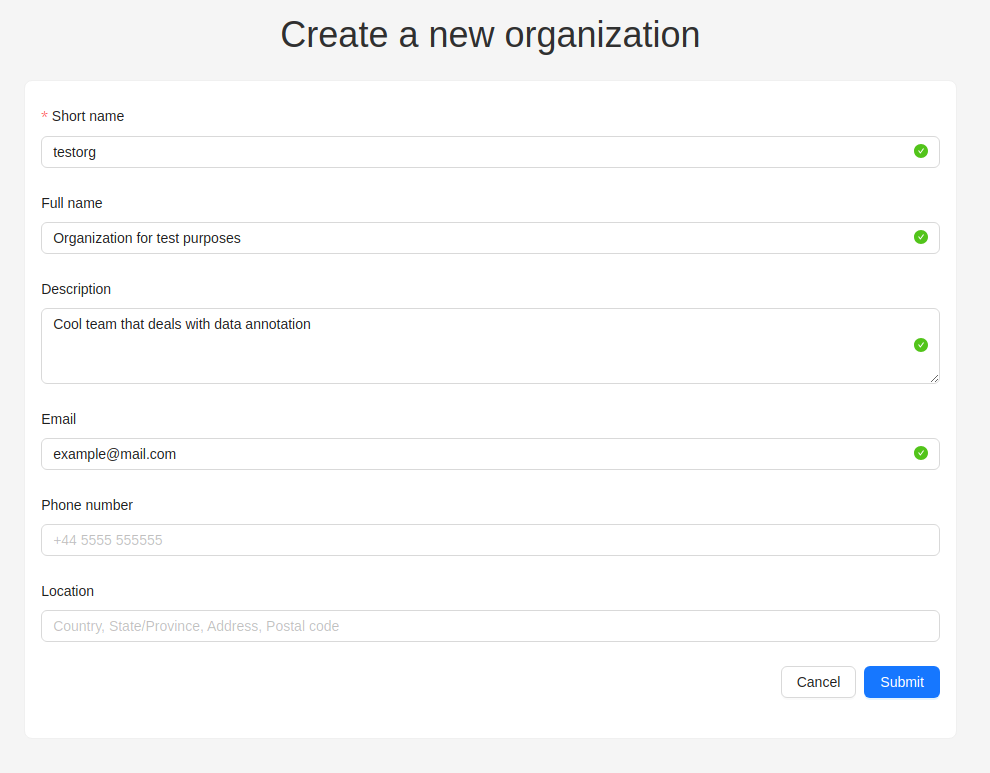
-
Fill in the following fields and click Submit.
| Field | Description |
|---|---|
| Short name | A name of the organization that will be displayed in the CVAT menu. |
| Full name | Optional. Full name of the organization. |
| Description | Optional. Description of organization. |
| Optional. Your email. | |
| Phone number | Optional. Your phone number. |
| Location | Optional. Organization address. |
Upon creation, the organization page will open automatically.
For future access to your organization, navigate to Username > Organization
Switching between organizations
If you have more than one Organization, it is possible to switch between these Organizations at any given time.
Follow these steps:
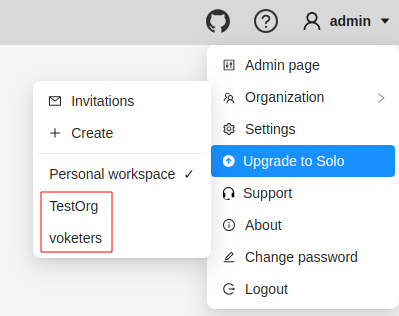
- In the top menu, select your Username > Organization.
- From the drop-down menu, under the Personal space section, choose the desired Organization.
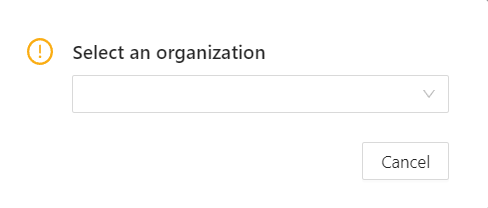
Note, that if you’ve created more than 10 organizations, a Switch organization line will appear in the drop-down menu.
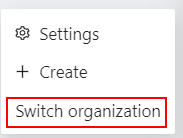
Click on it to see the Select organization dialog, and select organization from drop-down list.
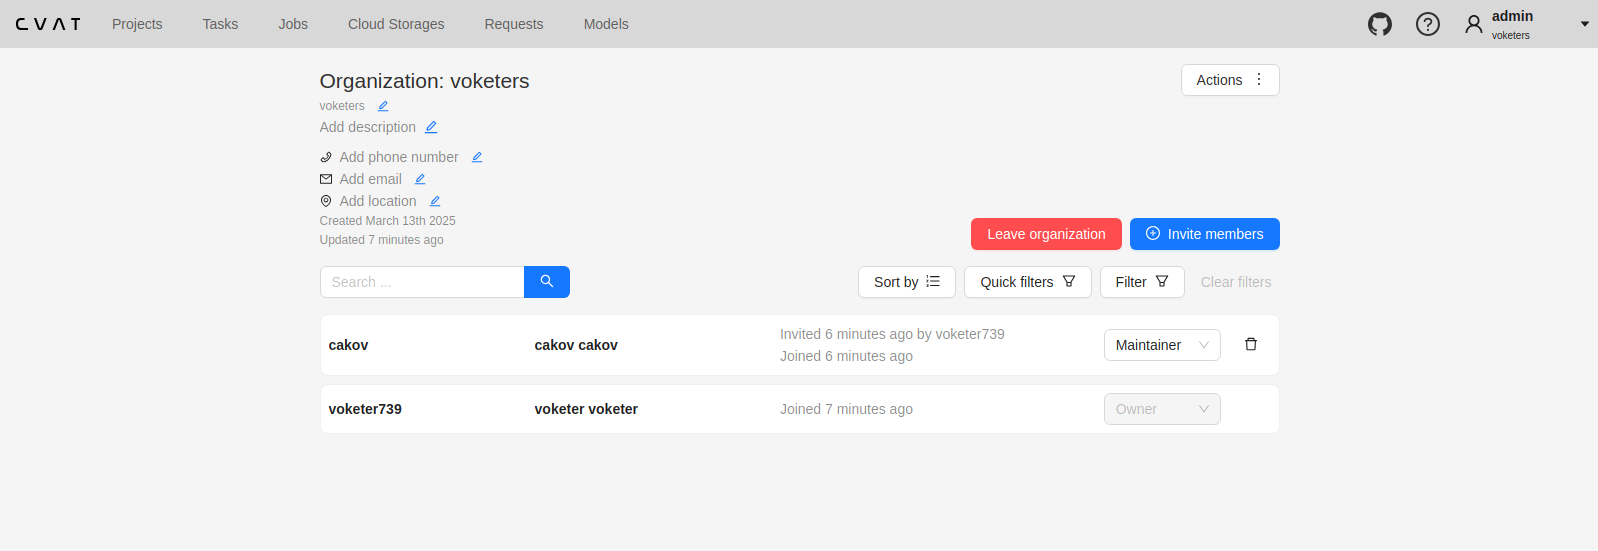
Organization page
Organization page is a place, where you can edit the Organization information and manage Organization members.
Note that in order to access the organization page, you must first activate the organization (see Switching between organizations). Without activation, the organization page will remain inaccessible.
An organization is considered activated when it’s ticked in the drop-down menu and its name is visible in the top-right corner under the username.
To go to the Organization page, do the following:
- On the top menu, click your Username > Organization.
- In the drop-down menu, select Organization.
- In the drop-down menu, click Settings.

Invite members into organization: menu and roles
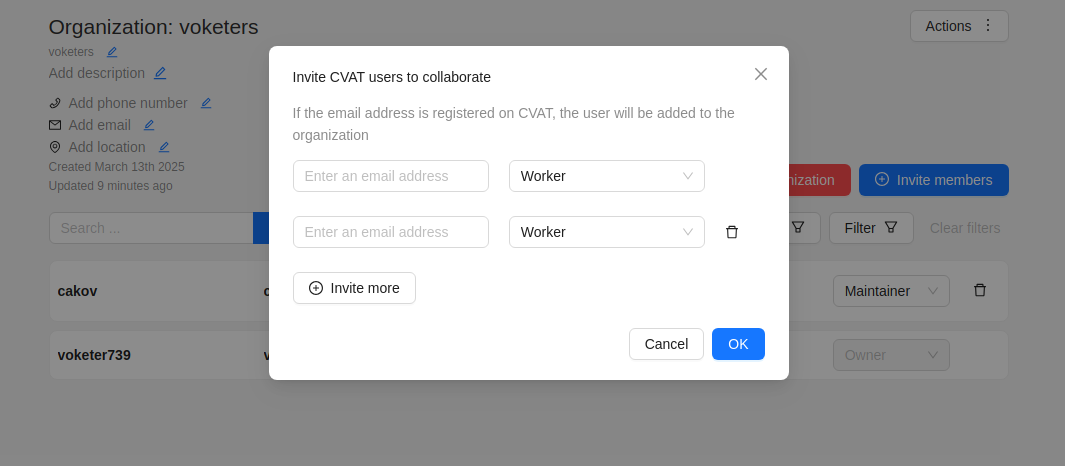
Invite members form is available from Organization page.
It has the following fields:
| Field | Description |
|---|---|
| Specifies the email address of the user who is being added to the Organization. | |
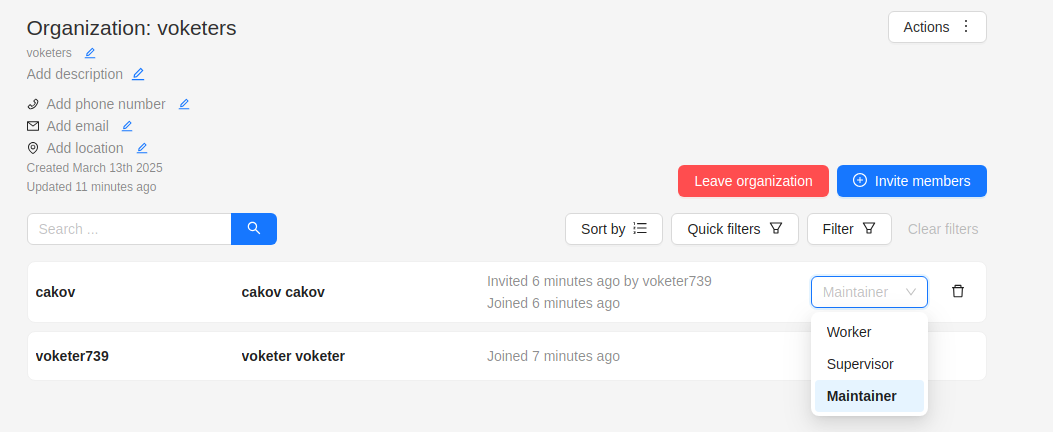
| Role drop-down list | Defines the role of the user which sets the level of access within the Organization: |
| Invite more | Button to add another user to the Organization. |
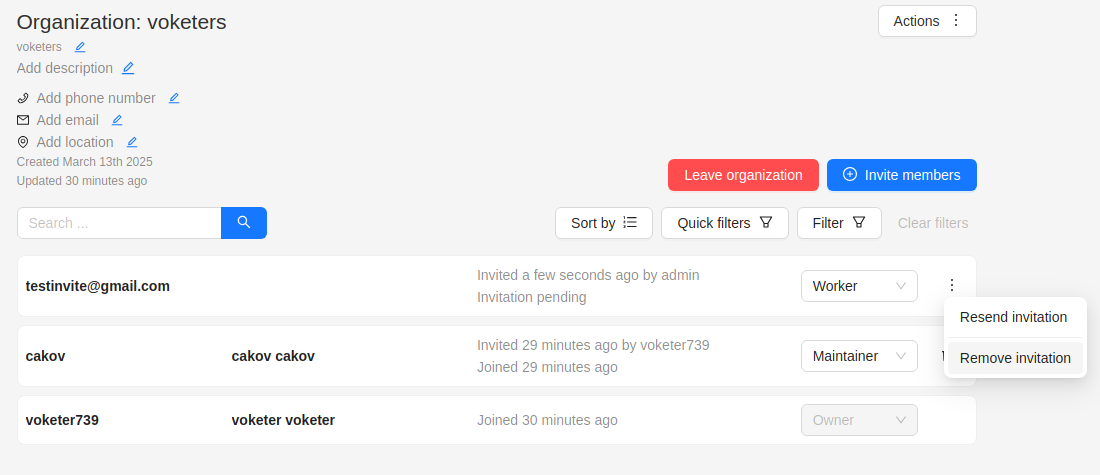
Members of Organization will appear on the Organization page:
The member of the organization can leave the organization by going to Organization page > Leave organization.
The organization owner can remove members, by clicking on the Bin icon.
Inviting members to Organization
To invite members to Organization do the following:
-
Go to the Organization page, and click Invite members.
-
Fill in the form (see below).
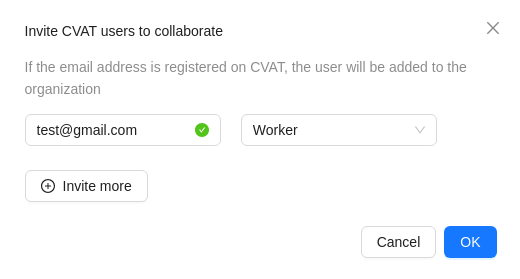
-
Click OK.
-
The person being invited will receive an email with the link.
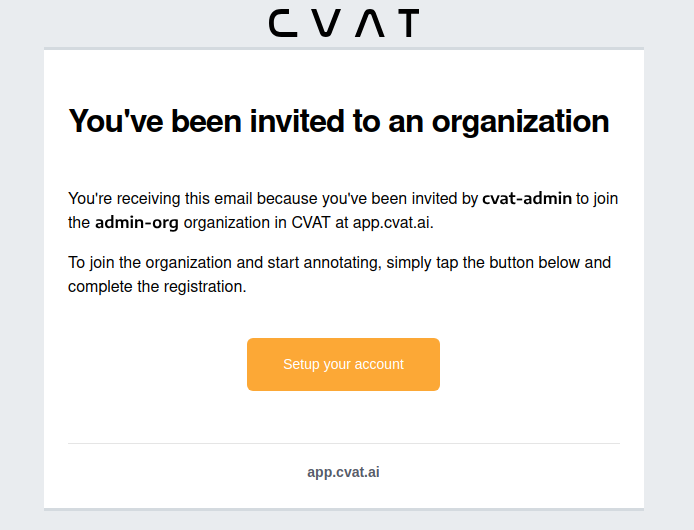
-
Person must click the link and:
- If the invitee does not have the CVAT account, then set up an account.
- If the invitee has a CVAT account, then log in to the account.
Invitations list
User can see the list of active invitations.
To see the list, Go to Username > Organization > Invitations.
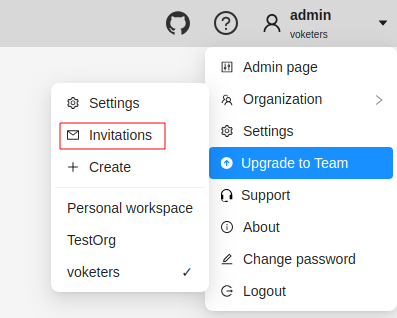
You will see the page with the list of invitations.
You will also see pop-up notification the link to the page with invitations list.
Resending and removing invitations
The organization owner and maintainers can remove members, by clicking on the three dots, and selecting Remove invitation
Delete organization
You can remove an organization that you created.
Note: Removing an organization will delete all related resources (annotations, jobs, tasks, projects, cloud storage, and so on).
To remove an organization, do the following:
- Go to the Organization page.
- In the top-right corner click Actions > Remove organization.
- Enter the short name of the organization in the dialog field.
- Click Remove.