Specification for annotators
The Guide feature provides a built-in markdown editor that allows you to create specification for annotators.
Once you create and submit the specification, it will be accessible from the annotation interface (see below).
You can attach the specification to Projects or to Tasks.
The attachment procedure is the same for individual users and organizations.
See:
- Adding specification to Project
- Adding specification to Task
- Access to specification for annotators
- Markdown editor guide
- Specification for annotators’ video tutorial
Adding specification to Project
To add specification to the Projects, do the following:
- Go to the Projects page and click on the project to which you want to add specification.
- Under the Project description, click Edit.
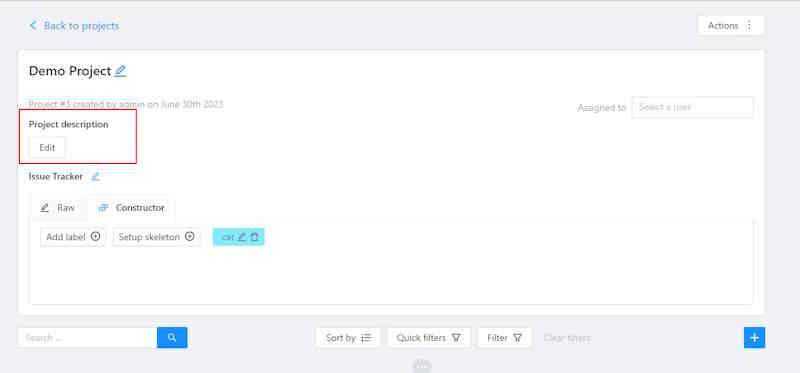
- Add instruction to the Markdown editor, and click Submit.
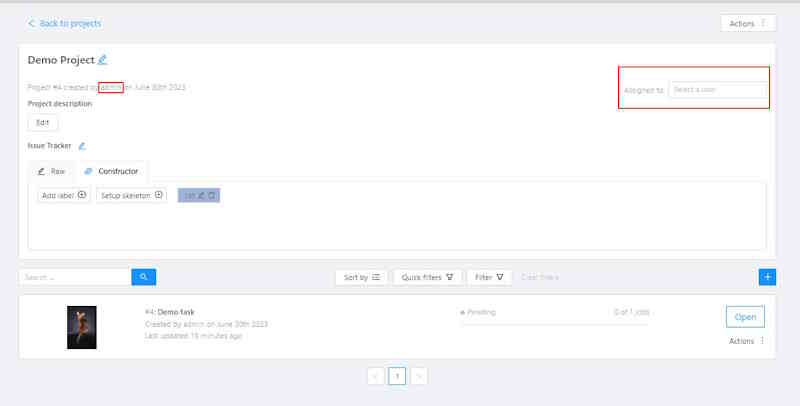
Editing rights
- For individual users: only the project owner and the project assignee can edit the specification.
- For organizations: specification additionally can be edited by the organization owner and maintainer
Adding specification to Task
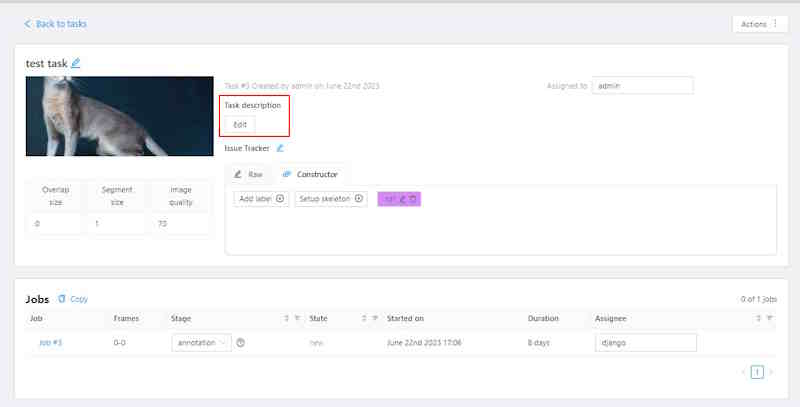
To add specification to the Task, do the following:
-
Go to the Tasks page and click on the task to which you want to add specification.
-
Under the Task description, click Edit.
-
Add instruction to the Markdown editor, and click Submit.
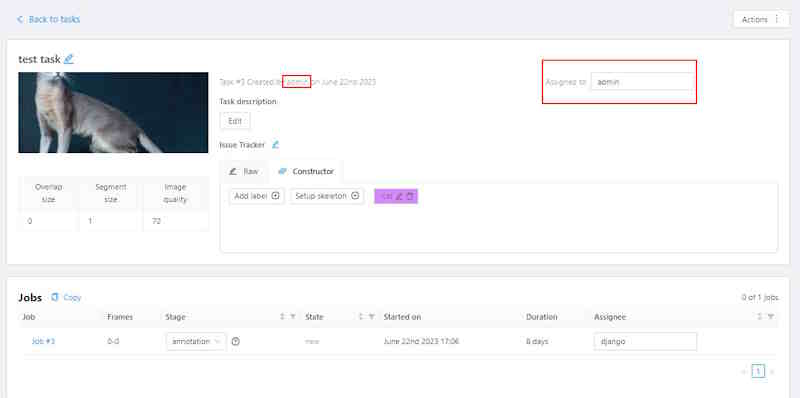
Editing rights
- For individual users: only the task owner and task assignee can edit the specification.
- For organizations: only the task owner, maintainer, and task assignee can edit the specification.
Access to specification for annotators
To open specification, do the following:
- Open the job to see the annotation interface.
- In the top right corner, click Guide button(
 ).
).
Markdown editor guide
The markdown editor for Guide has two panes. Add instructions to the left pane, and the editor will immediately show the formatted result on the right.
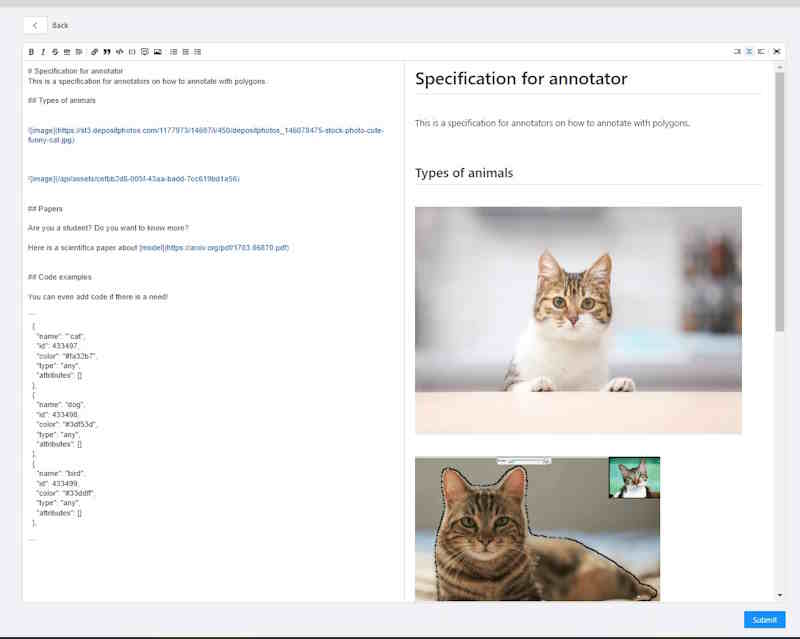
You can write in raw markdown or use the toolbar on the top of the editor.

| Element | Description |
|---|---|
| 1 | Text formatting: bold, cursive, and strikethrough. |
| 2 | Insert a horizontal rule (horizontal line). |
| 3 | Add a title, heading, or subheading. It provides a drop-down list to select the title level (from 1 to 6). |
| 4 | Add a link. Note: If you left-click on the link, it will open in the same window. |
| 5 | Add a quote. |
| 6 | Add a single line of code. |
| 7 | Add a block of code. |
| 8 | Add a comment. The comment is only visible to Guide editors and remains invisible to annotators. |
| 9 | Add a picture. To use this option, first, upload the picture to an external resource and then add the link in the editor. Alternatively, you can drag and drop a picture into the editor, which will upload it to the CVAT server and add it to the specification. |
| 10 | Add a list: bullet list, numbered list, and checklist. |
| 11 | Hide the editor pane: options to hide the right pane, show both panes or hide the left pane. |
| 12 | Enable full-screen mode. |
Specification for annotators’ video tutorial
Video tutorial on how to use the Guide feature.