CVAT Workspace
In CVAT the workspace serves as the central hub where annotators interact with images, videos, and the various tools available to create high-quality annotations.

The workspace includes the following elements:
| Element | Description |
|---|---|
| 1 | Top Panel and basic navigation. |
| 2 | Controls sidebar |
| 3 | Objects sidebar |
| 4 | Image annotation area, described in this article. |
See:
Image settings in CVAT
The Image settings panel serves as a versatile tool for fine-tuning the visual aspects of your image. Whether you need to brighten the image, increase contrast, or make other adjustments, this panel is your go-to.
Additionally, the panel allows you to overlay a grid on the image for more precise annotation.
Note: Adjusting the image settings only alters how the pictures are displayed. The images themselves will remain unmodified and unchanged.
By default, the Image settings panel is not visible. To access
it, click on the Arrow Up (![]() )
icon located at the bottom of the workspace.
)
icon located at the bottom of the workspace.
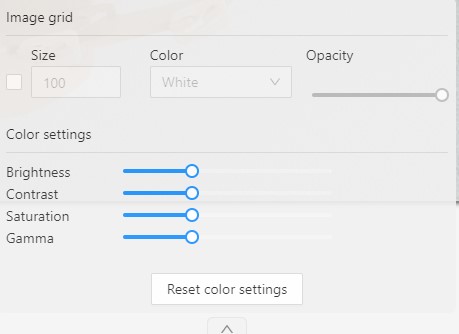
Adding grid overlay to image in CVAT
To add the grid to the image, do the following:
- Open the Image Settings panel.
- Locate and check the box that allows you to overlay a grid on the image.
- Specify the grid cell size in square millimeters by entering the desired number in the Size field.
- From the Color drop-down list, select the color of the grid.
- Use the Opacity slider to change the transparency of the grid overlay.
Changing color settings of image in CVAT
To change the color setting of the image is CVAT, do the following:
- Open the Image Settings panel.
- Use the slider to change the color quality.
There are four color quality settings in CVAT:
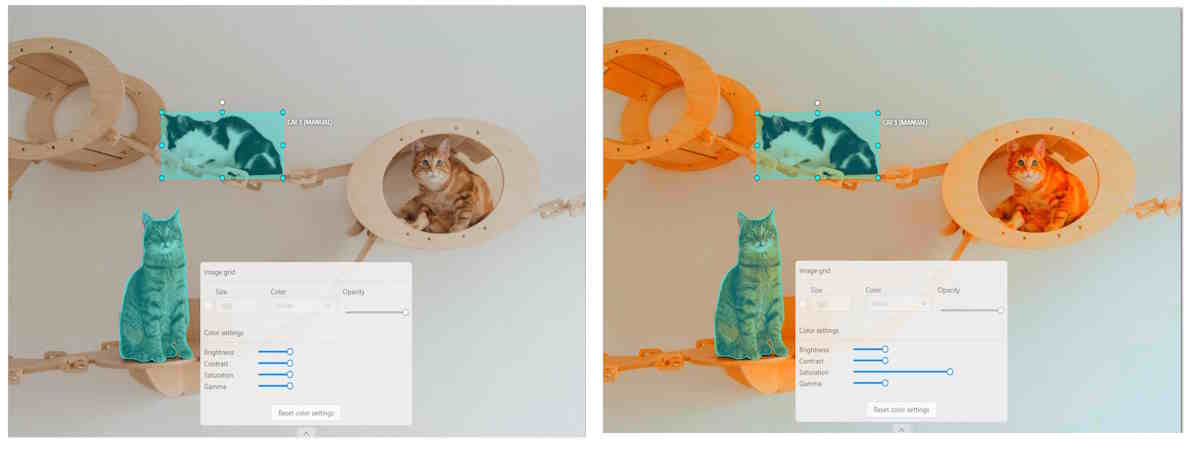
Brightness increases and decreases the overall lightness of the image:
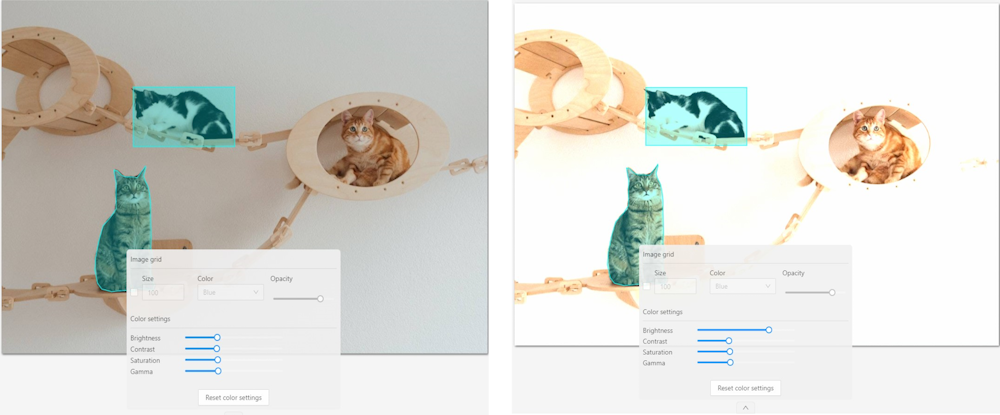
Contrast is the range of brightness, from lightest to darkest, in an image.
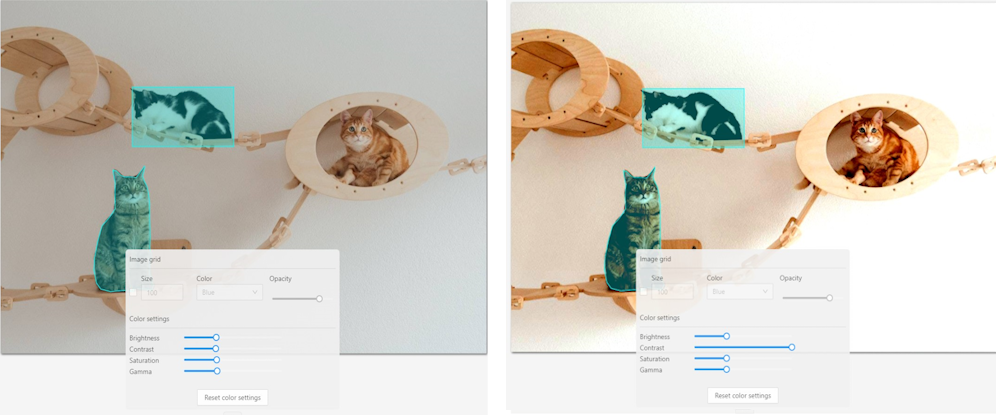
Saturation describes the intensity of the color.
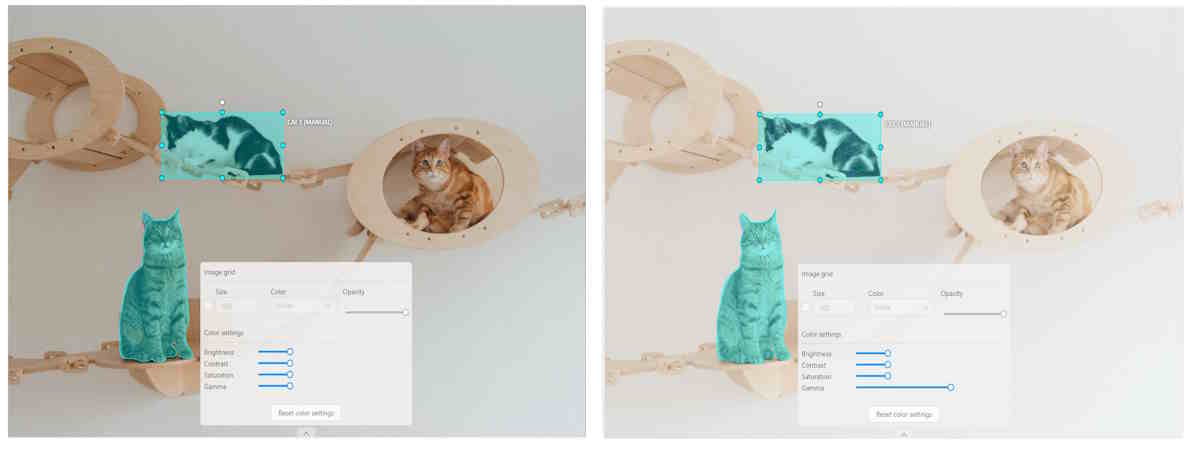
Gamma correction can be used to control the overall brightness of an image
To reset the setting to default values, click Reset color settings
Adding layers and Z-axis slider
Z-axis Slider enables you to add annotation layers while hiding the layers positioned beyond.
You can also move between layers by moving the slider to the layer you need.
The slider becomes active when multiple Z-layers are present within a frame. Click + on the slider to add a new layer; upon pressing it, a new layer is automatically created and activated.
You can also relocate objects between layers using the + and - keys.

Interacting with Objects
The workspace is also equipped with the following features:
-
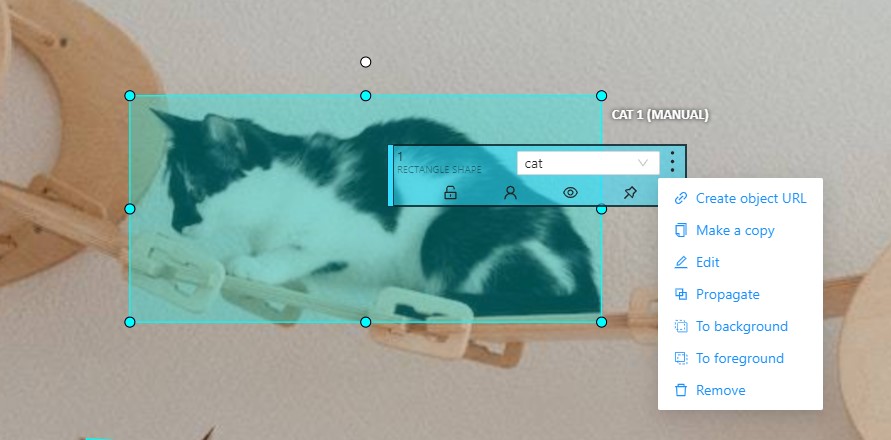
Right-clicking an object opens the Object Card. This interface contains essential controls for modifying the object’s label and attributes, as well as providing access to an action menu.
-
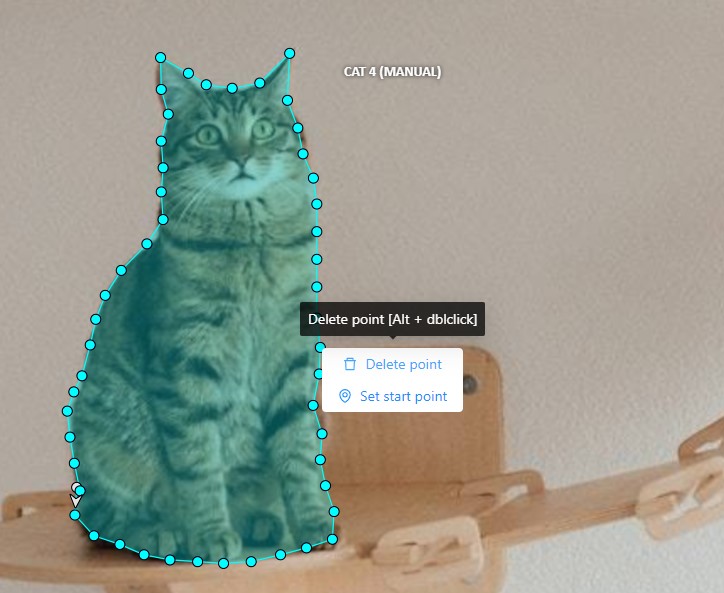
Right-clicking on a polygon point will open a menu, from which you can Delete point or Set start point.
