Shape mode
Usage examples:
- Create new annotations for a set of images.
- Add/modify/delete objects for existing annotations.
-
You need to select
Rectangleon the controls sidebar: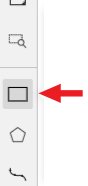
Before you start, select the correct
Label(should be specified by you when creating the task) andDrawing Method(by 2 points or by 4 points):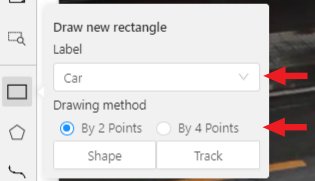
-
Creating a new annotation in
Shape mode:-
Create a separate
Rectangleby selectingShape.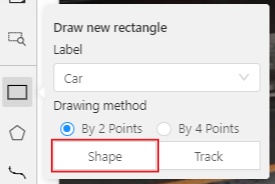
-
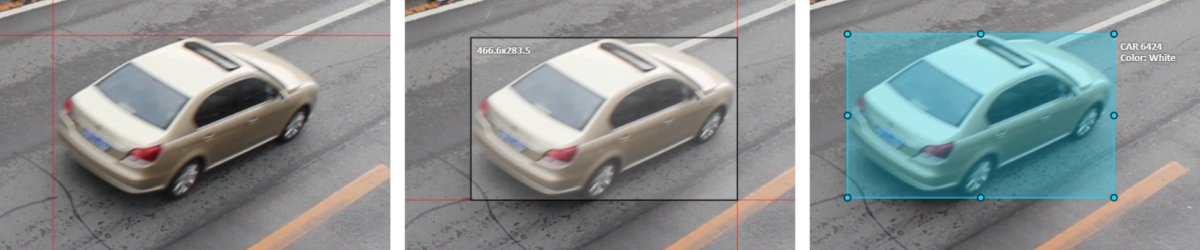
Choose the opposite points. Your first rectangle is ready!
-
To learn more about creating a rectangle read here.
-
It is possible to adjust boundaries and location of the rectangle using a mouse. The rectangle’s size is shown in the top right corner, you can check it by selecting any point of the shape. You can also undo your actions using
Ctrl+Zand redo them withShift+Ctrl+ZorCtrl+Y.
-
-
You can see the
Object cardin the objects sidebar or open it by right-clicking on the object. You can change the attributes in the details section. You can perform basic operations or delete an object by selecting on the action menu button.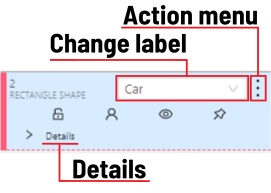
-
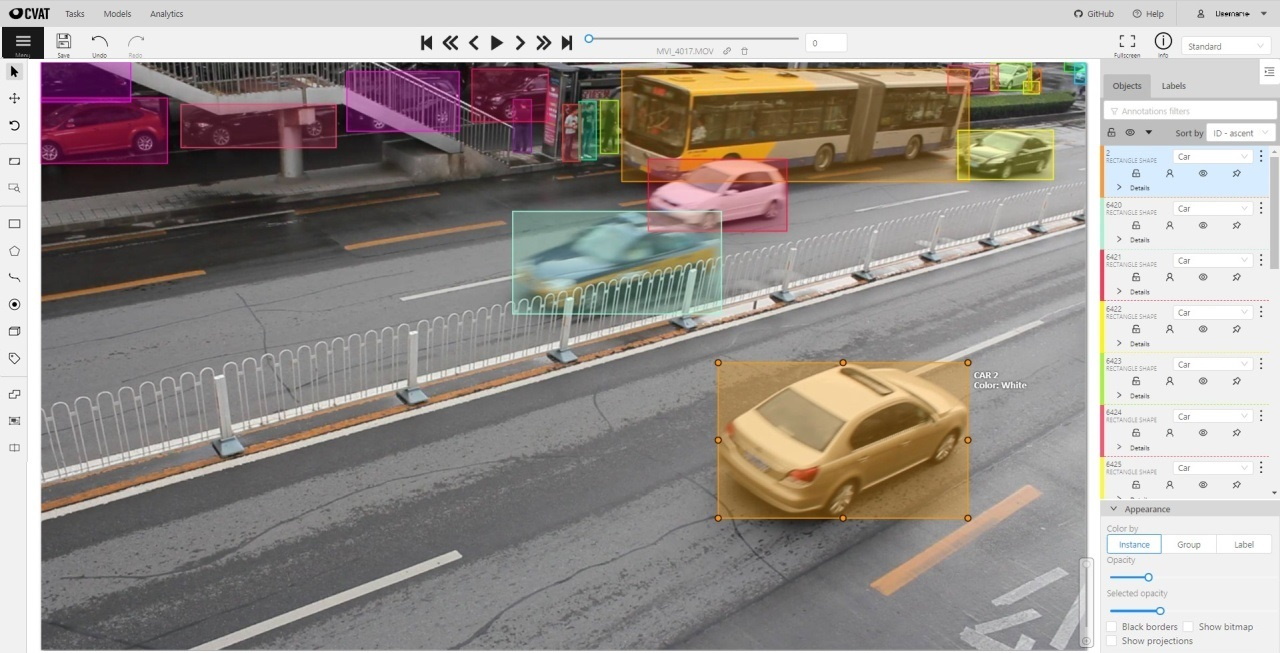
The following figure is an example of a fully annotated frame with separate shapes.
Occluded
Occlusion is an attribute used if an object is occluded by another object or
isn’t fully visible on the frame. Use Q shortcut to set the property
quickly.

Example: the three cars on the figure below should be labeled as occluded.

If a frame contains too many objects and it is difficult to annotate them
due to many shapes placed mostly in the same place, it makes sense
to lock them. Shapes for locked objects are transparent, and it is easy to
annotate new objects. Besides, you can’t change previously annotated objects
by accident. Shortcut: L.
