AI Tools
Label and annotate your data in semi-automatic and automatic mode with the help of AI and OpenCV tools.
While interpolation is good for annotation of the videos made by the security cameras, AI and OpenCV tools are good for both: videos where the camera is stable and videos, where it moves together with the object, or movements of the object are chaotic.
See:
Interactors
Interactors are a part of AI and OpenCV tools.
Use interactors to label objects in images by creating a polygon semi-automatically.
When creating a polygon, you can use positive points or negative points (for some models):
- Positive points define the area in which the object is located.
- Negative points define the area in which the object is not located.

AI tools: annotate with interactors
To annotate with interactors, do the following:
- Click Magic wand
 , and go to the Interactors tab.
 - From the Label drop-down, select a label for the polygon.
- From the Interactor drop-down, select a model
(see AI models).
Click the Question mark to see information about each model: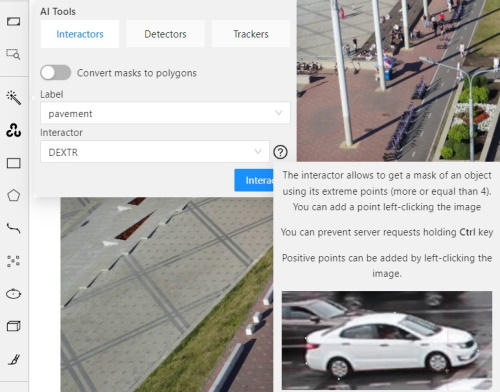
- (Optional) If the model returns masks, and you need to convert masks to polygons, use the Convert masks to polygons toggle.
- Click Interact.
- Use the left click to add positive points and the right click to add negative points.
Number of points you can add depends on the model. - On the top menu, click Done (or Shift+N, N).
Limiting interactor input to a region of interest
For image/video jobs, you can restrict an interactor to a selected image area. Use this when you want the model to segment only a specific part of the frame.
To set the region:
- In the Interactors tab, specify Region of interest values:
x,y,width, andheight. - Alternatively, click Draw a region of interest and draw the area on the canvas.
- Click Interact and place points or boxes inside the selected region.
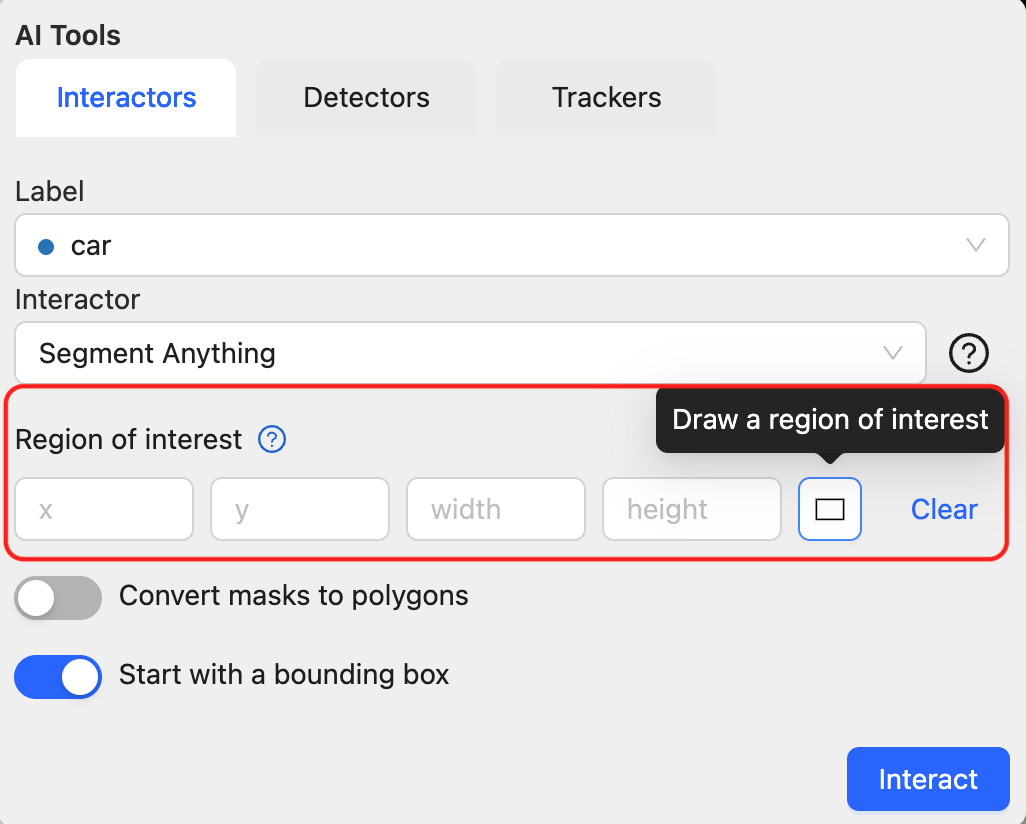
When a region of interest is set, CVAT sends only that image crop to the model, restricts interactor prompts to the selected area, and adds the resulting shape back in the correct full-frame position.
AI tools: add extra points
Note
More points improve outline accuracy, but make shape editing harder. Fewer points make shape editing easier, but reduce outline accuracy.Each model has a minimum required number of points for annotation. Once the required number of points is reached, the request is automatically sent to the server. The server processes the request and adds a polygon to the frame.
For a more accurate outline, postpone request to finish adding extra points first:
- Hold down the Ctrl key.
On the top panel, the Block button will turn blue. - Add points to the image.
- Release the Ctrl key, when ready.
In case you used Mask to polygon when the object is finished, you can edit it like a polygon.
You can change the number of points in the polygon with the slider:

AI tools: delete points
To delete a point, do the following:
- With the cursor, hover over the point you want to delete.
- If the point can be deleted, it will enlarge and the cursor will turn into a cross.
- Left-click on the point.
OpenCV: intelligent scissors
To use Intelligent scissors, do the following:
-
On the menu toolbar, click OpenCV
 and wait for the library to load.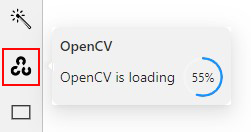
-
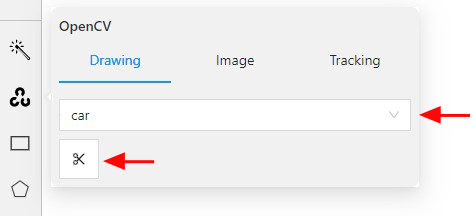
Go to the Drawing tab, select the label, and click on the Intelligent scissors button.
-
Add the first point on the boundary of the allocated object.
You will see a line repeating the outline of the object. -
Add the second point, so that the previous point is within the restrictive threshold.
After that a line repeating the object boundary will be automatically created between the points.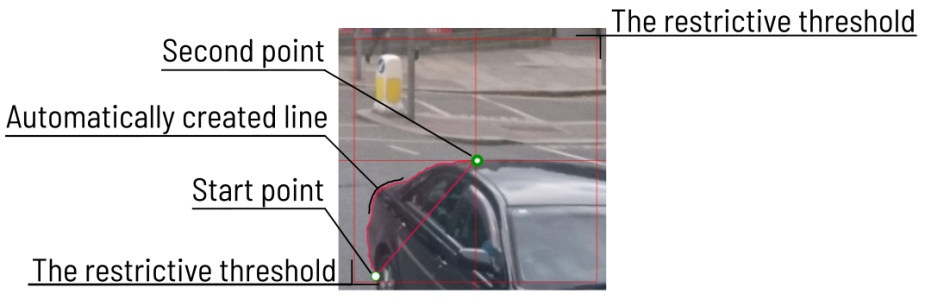
-
To finish placing points, on the top menu click Done (or N on the keyboard).
As a result, a polygon will be created.
You can change the number of points in the polygon with the slider:
To increase or lower the action threshold, hold Ctrl and scroll the mouse wheel.
During the drawing process, you can remove the last point by clicking on it with the left mouse button.
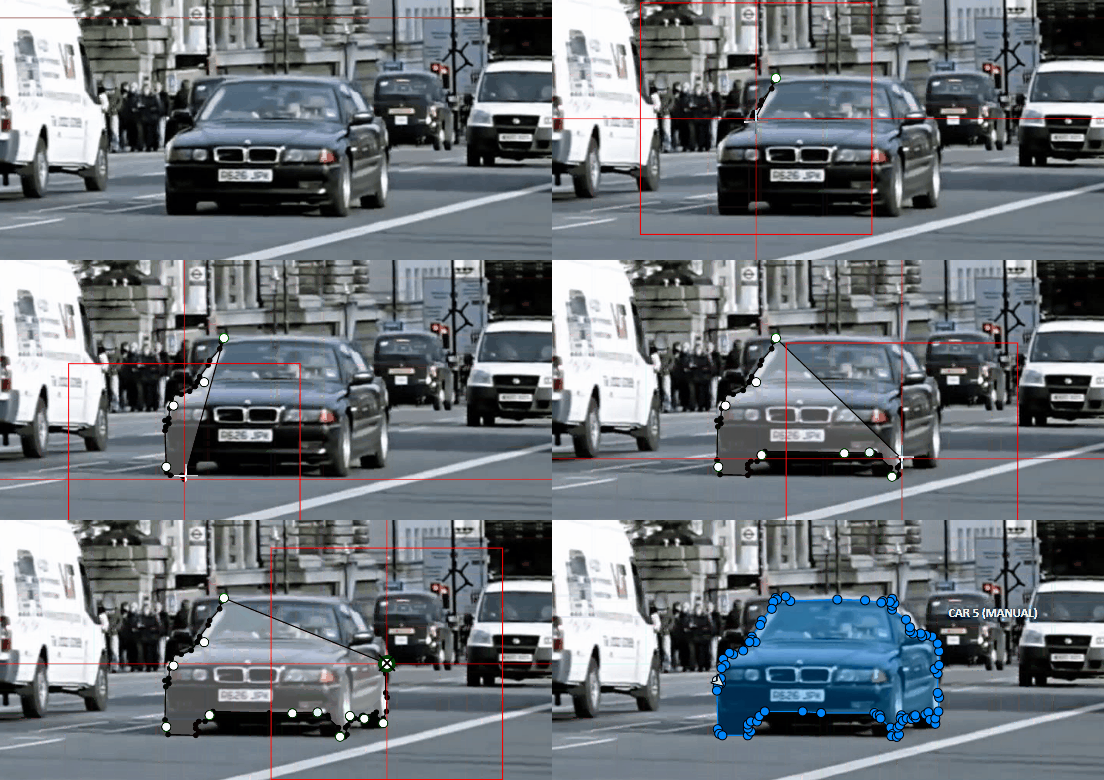
For more information on intelligent scissors, see the Intelligent Scissors Specification.
Settings
-
On how to adjust the polygon, see Objects sidebar.
-
For more information about polygons in general, see Annotation with polygons.
Detectors
Detectors are a part of AI tools.
Use detectors to automatically identify and locate objects in images or videos.
Labels matching
Each model is trained on a dataset and supports only the dataset’s labels.
For example:
- DL model has the label
car. - Your task (or project) has the label
vehicle.
To annotate, you need to match these two labels to give
DL model a hint, that in this case car = vehicle.
If you have a label that is not on the list of DL labels, you will not be able to match them.
You can check each deployed model’s supported labels at the Models page.
Annotate with detectors
To annotate with detectors, do the following:
-
Click Magic wand
, and go to the Detectors tab. -
From the Model drop-down, select model (see AI models).
-
From the left drop-down select the DL model label, from the right drop-down select the matching label of your task.
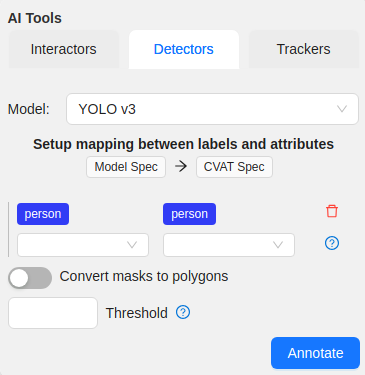
-
(Optional) If the model returns masks, and you need to convert masks to polygons, use the Convert masks to polygons toggle.
-
(Optional) You can specify a Threshold for the model. If not provided, the default value from the model settings will be used.
-
Click Annotate.
This action will automatically annotate one frame. For automatic annotation of multiple frames, see Automatic annotation.
Limiting detector input to a region of interest
For image/video jobs, you can restrict a detector to a selected image area. Use this when only part of the frame should be analyzed.
To set the region:
- In the Detectors tab, specify Region of interest values:
x,y,width, andheight. - Alternatively, click Draw a region of interest and draw the area on the canvas.
- Click Annotate.
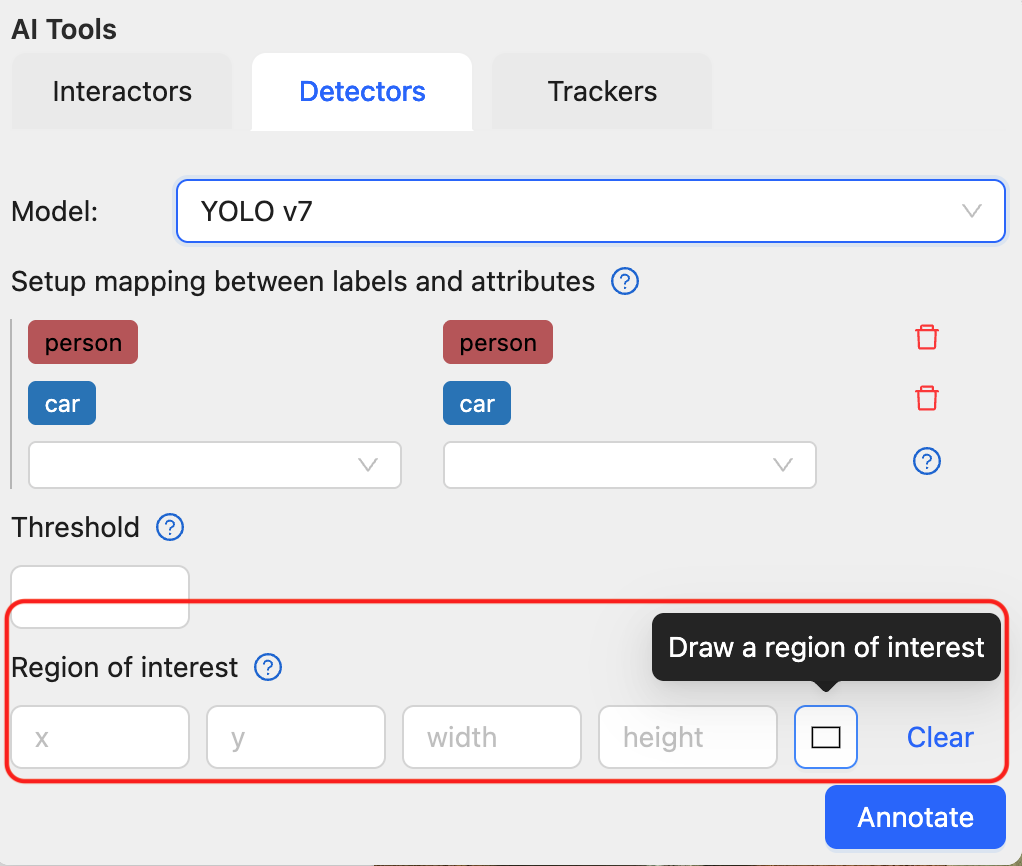
CVAT sends only the selected image crop to the detector and maps the returned annotations back to the correct full-frame coordinates.
Trackers
Trackers are part of AI and OpenCV tools.
Use trackers to identify and label objects in a video or image sequence that are moving or changing over time.
AI tools: annotate with trackers
To annotate with trackers, do the following:
-
Click Magic wand
, and go to the Trackers tab.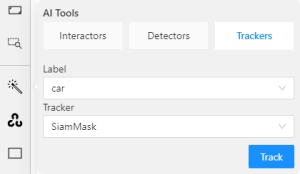
-
From the Label drop-down, select the label for the object.
-
From Tracker drop-down, select tracker.
-
Click Track, and annotate the objects with the bounding box in the first frame.
-
Go to the top menu and click Next (or the F on the keyboard) to move to the next frame.
All annotated objects will be automatically tracked.
When tracking
-
To enable/disable tracking, use Tracker switcher on the sidebar.
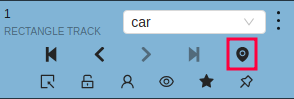
-
Trackable objects have an indication on canvas with a model name.
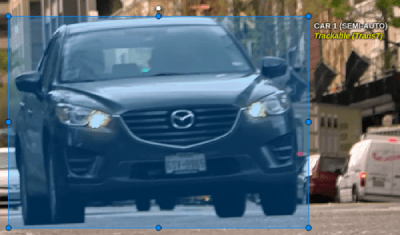
-
You can follow the tracking by the messages appearing at the top.

OpenCV: annotate with trackers
To annotate with trackers, do the following:
-
Create basic rectangle shapes or tracks for tracker initialization
-
On the menu toolbar, click OpenCV
and wait for the library to load. -
From Tracker drop-down, select tracker and Click Track
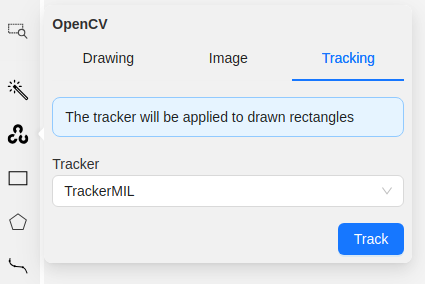
Currently, TrackerMIL is the only tracker available. For more information on it, see Object Tracking using OpenCV.
-
Annotation actions window will pop-up. Setup
Target frameandConvert rectangle shapes to tracksparameters and clickRunNote
Tracking will be applied to all filtered rectangle annotations.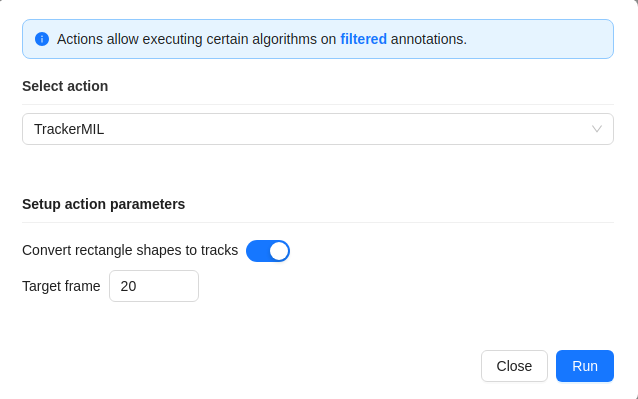
All annotated objects will be automatically tracked up until target frame parameter.
OpenCV: histogram equalization
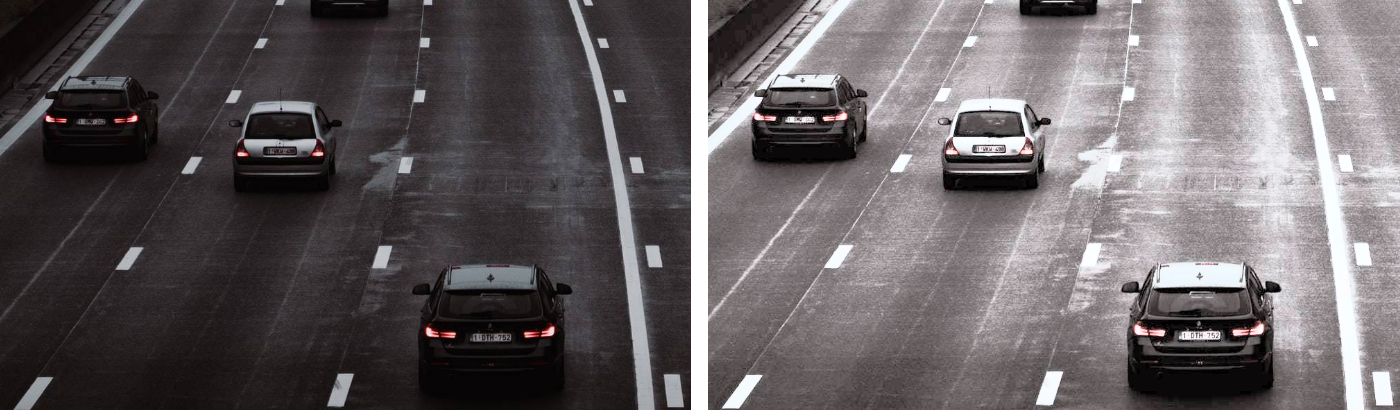
Histogram equalization improves the contrast by stretching the intensity range.
It increases the global contrast of images when its usable data is represented by close contrast values.
It is useful in images with backgrounds and foregrounds that are bright or dark.
To improve the contrast of the image, do the following:
- In the OpenCV menu, go to the Image tab.
- Click on Histogram equalization button.
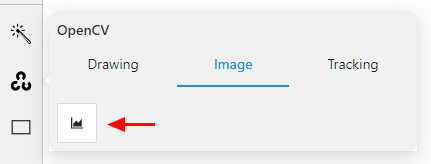
Histogram equalization will improve contrast on current and following frames.
Example of the result:
To disable Histogram equalization, click on the button again.