Annotation with ellipses
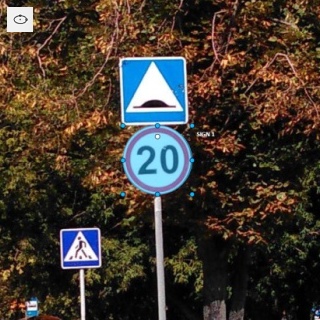
It is used for road sign annotation etc.
First of all you need to select the ellipse on the controls sidebar.
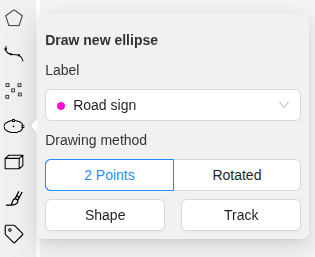
Choose a Label, select 2 Points under Drawing method, and click Shape or Track to start drawing.
An ellipse can be created the same way as
a rectangle,
you need to specify two opposite points,
and the ellipse will be inscribed in an imaginary rectangle. Press N or click the Done button on the top panel
to complete the shape.
Rotated ellipses
You can draw a rotated ellipse from contour points, rotate an existing ellipse, or change where its white rotation marker appears.
Create a rotated ellipse
Use the Rotated drawing method to fit an ellipse to points along an object’s curved outline. CVAT calculates the ellipse’s position, size, and rotation angle from the points you place. This method is available in both Shape and Track modes.
- Open Draw new ellipse from the controls sidebar.
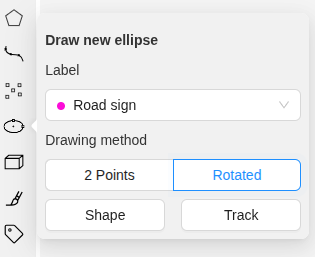
- Choose a Label and select Rotated under Drawing method.
- Click Shape or Track to start drawing.
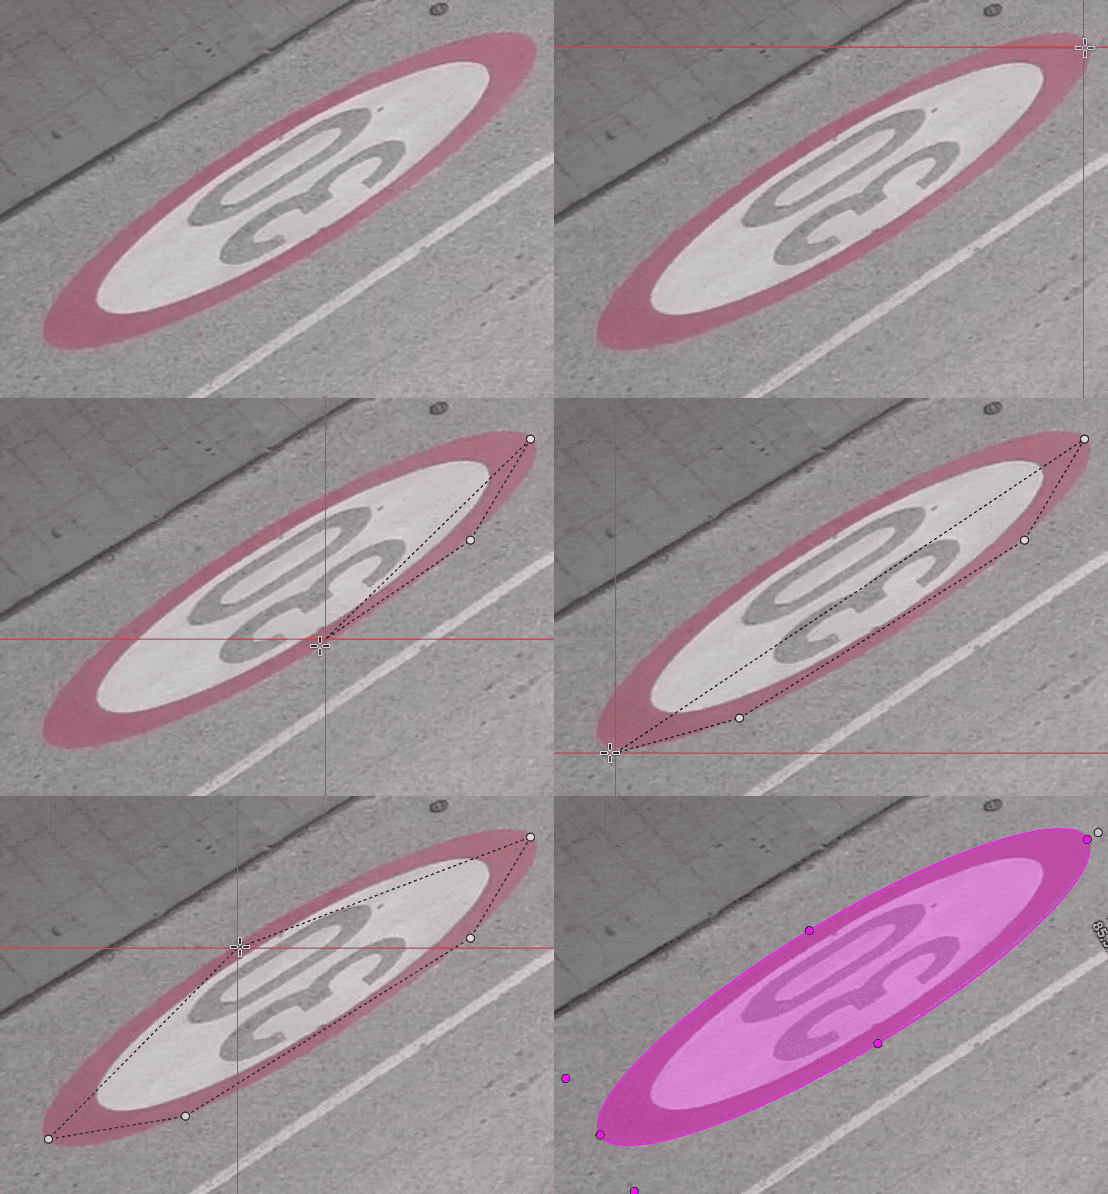
- Click at least five points along the object’s outline. Spread them around the whole object, rather than placing them on a straight line or only a short arc.
- Check the ellipse preview. Add points around the remaining parts of the outline as needed.
- Press
Nor click Done on the top panel to finish.
Drawing does not finish automatically after the fifth point. You can keep adding points before completing the ellipse.
The preview appears once the points allow a valid ellipse fit. If it does not appear after five points, add points on other sides of the object or undo misplaced points. The fitted curve approximates the outline; it does not necessarily pass through every point or enclose all of them.
| Action | Control |
|---|---|
| Add a contour point | Left-click |
| Remove the last contour point | Right-click |
| Finish the ellipse | N or Done |
| Cancel drawing | Esc |
The shortcuts above use the default key bindings.
Orientation marker
The white marker shows where the ellipse’s rotation handle will be. It starts on the side of the enclosing rectangle closest to your first point. As you add points, the preview changes, so the marker may move to another side. It is not fixed to the first segment you draw.
To find the closest side, CVAT measures the perpendicular distance from your first point to the straight line that each side of the enclosing rectangle lies on. The marker is placed just outside the middle of the selected side.
To help place the marker where you want it, start near where the ellipse touches the middle of the intended side of its enclosing rectangle. After drawing, you can move the marker to another side using Orientation in the object’s actions menu.
Change the ellipse orientation
Use the Orientation menu to move the white rotation marker to another side of the enclosing rectangle while keeping the ellipse’s outline and covered image area unchanged. This is useful when the fitted ellipse already matches the object, but the marker is on a different side than intended.
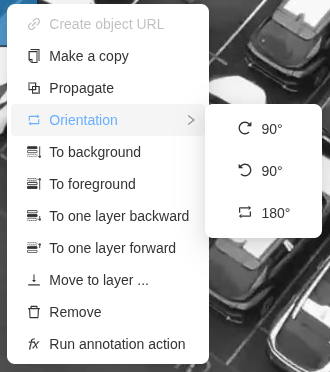
- Open the object’s three-dot actions menu and select Orientation.
- Choose 90° with the clockwise arrow, 90° with the counterclockwise arrow, or 180°.