Import annotations and data to CVAT
Importing a dataset into a project
You can import a dataset into a project. When you do this, CVAT:
- If the project has no defined labels, creates required labels based on the information available in the dataset. Only label names can be imported this way, colors, attributes, and skeleton labels must be defined manually.
- Creates new tasks inside the project. If there are several subsets in the imported dataset, each one is imported as a separate task with the corresponding subset name.
- Populates each imported task with the imported data and annotations (if the format contains annotations).
Note: Importing a dataset always creates a new task in the project.
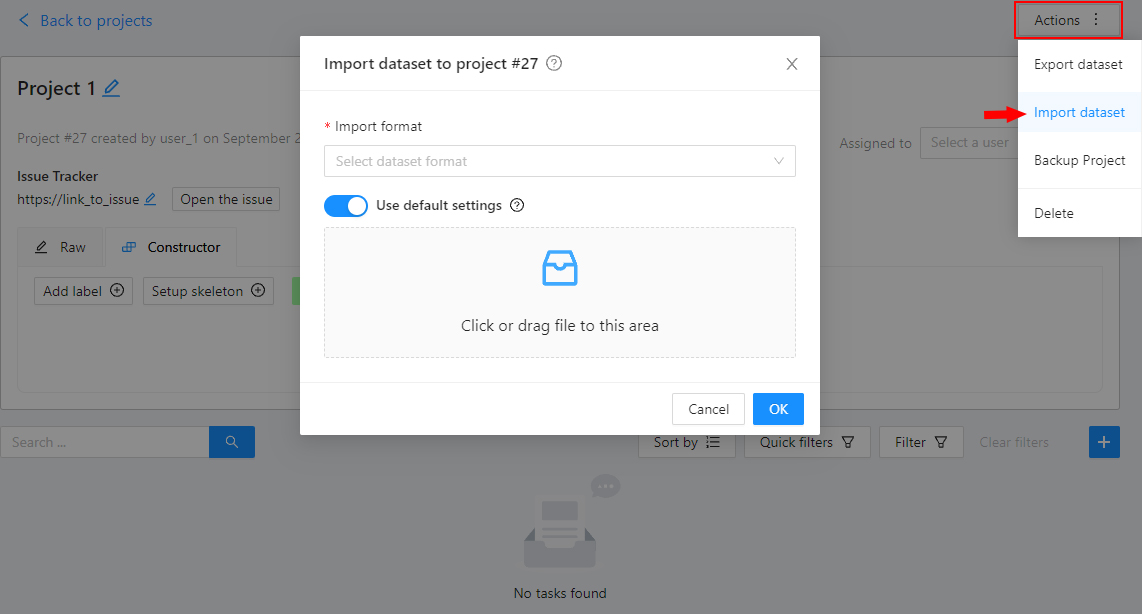
To import a dataset into a project:
- Open the project on the
Projects page. - Open the
Actionsmenu in the upper right corner. - Click
Import dataset. - Select the dataset format.
- Drag the file to the file upload area or click on the upload area to select the file through the explorer.
You can also import a dataset from attached cloud storage.
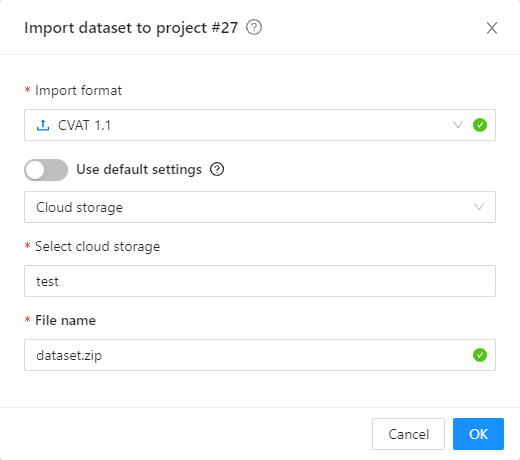
- First, select the annotation format.
- Then, select a cloud storage connection from the list or use the default one configured for the project.
- Specify the ZIP archive name in the
File namefield.
During the import process, you will be able to track the progress of the import on the Requests page.
Importing a dataset into a task
You can also add data when you create a task. A task can be:
- Inside a project (linked to that project), or
- Standalone.
After a task is created, you cannot add more data. To add extra data, create another task.
To learn more about creating a task in CVAT, see How to create and configure an annotation task.
Uploading annotations to tasks and jobs
If you already have a file with annotations or an annotated dataset, you can upload it to an entire task or to a single job.
Warning
When you upload annotations, CVAT removes the existing ones.Uploading annotations to a task
- On the Tasks page, click the three dots next to the task.
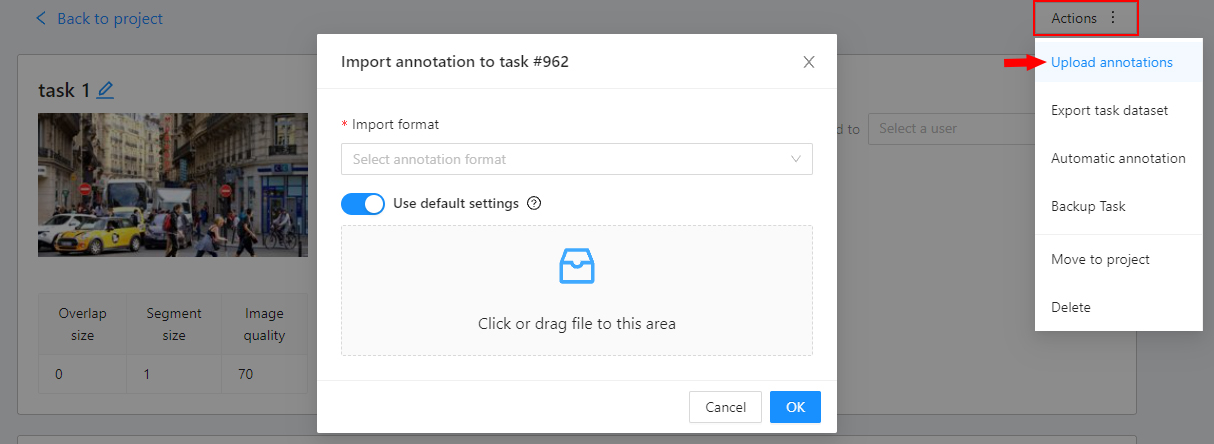
- Or open the task and go to the
Actionsmenu. - Click
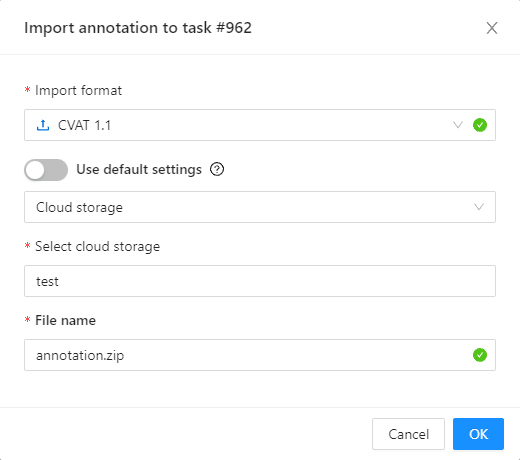
Upload annotations. - Select the annotation format.
- Upload the file from your computer or choose one from cloud storage.
Uploading annotations to a job
- Open the task, and click the three dots next to the job.
- Click
Import annotations. - Select the annotation format.
- Upload the file from your computer or choose one from cloud storage.